In this blog I will tell you how to flash LSC power plug with ESPhome! I will guide you how to open the plugs, how to solder the esp to USB to UART converter, what content of yaml file you need and what software to use.
Lees de Nederlandse versie hier – coming soon
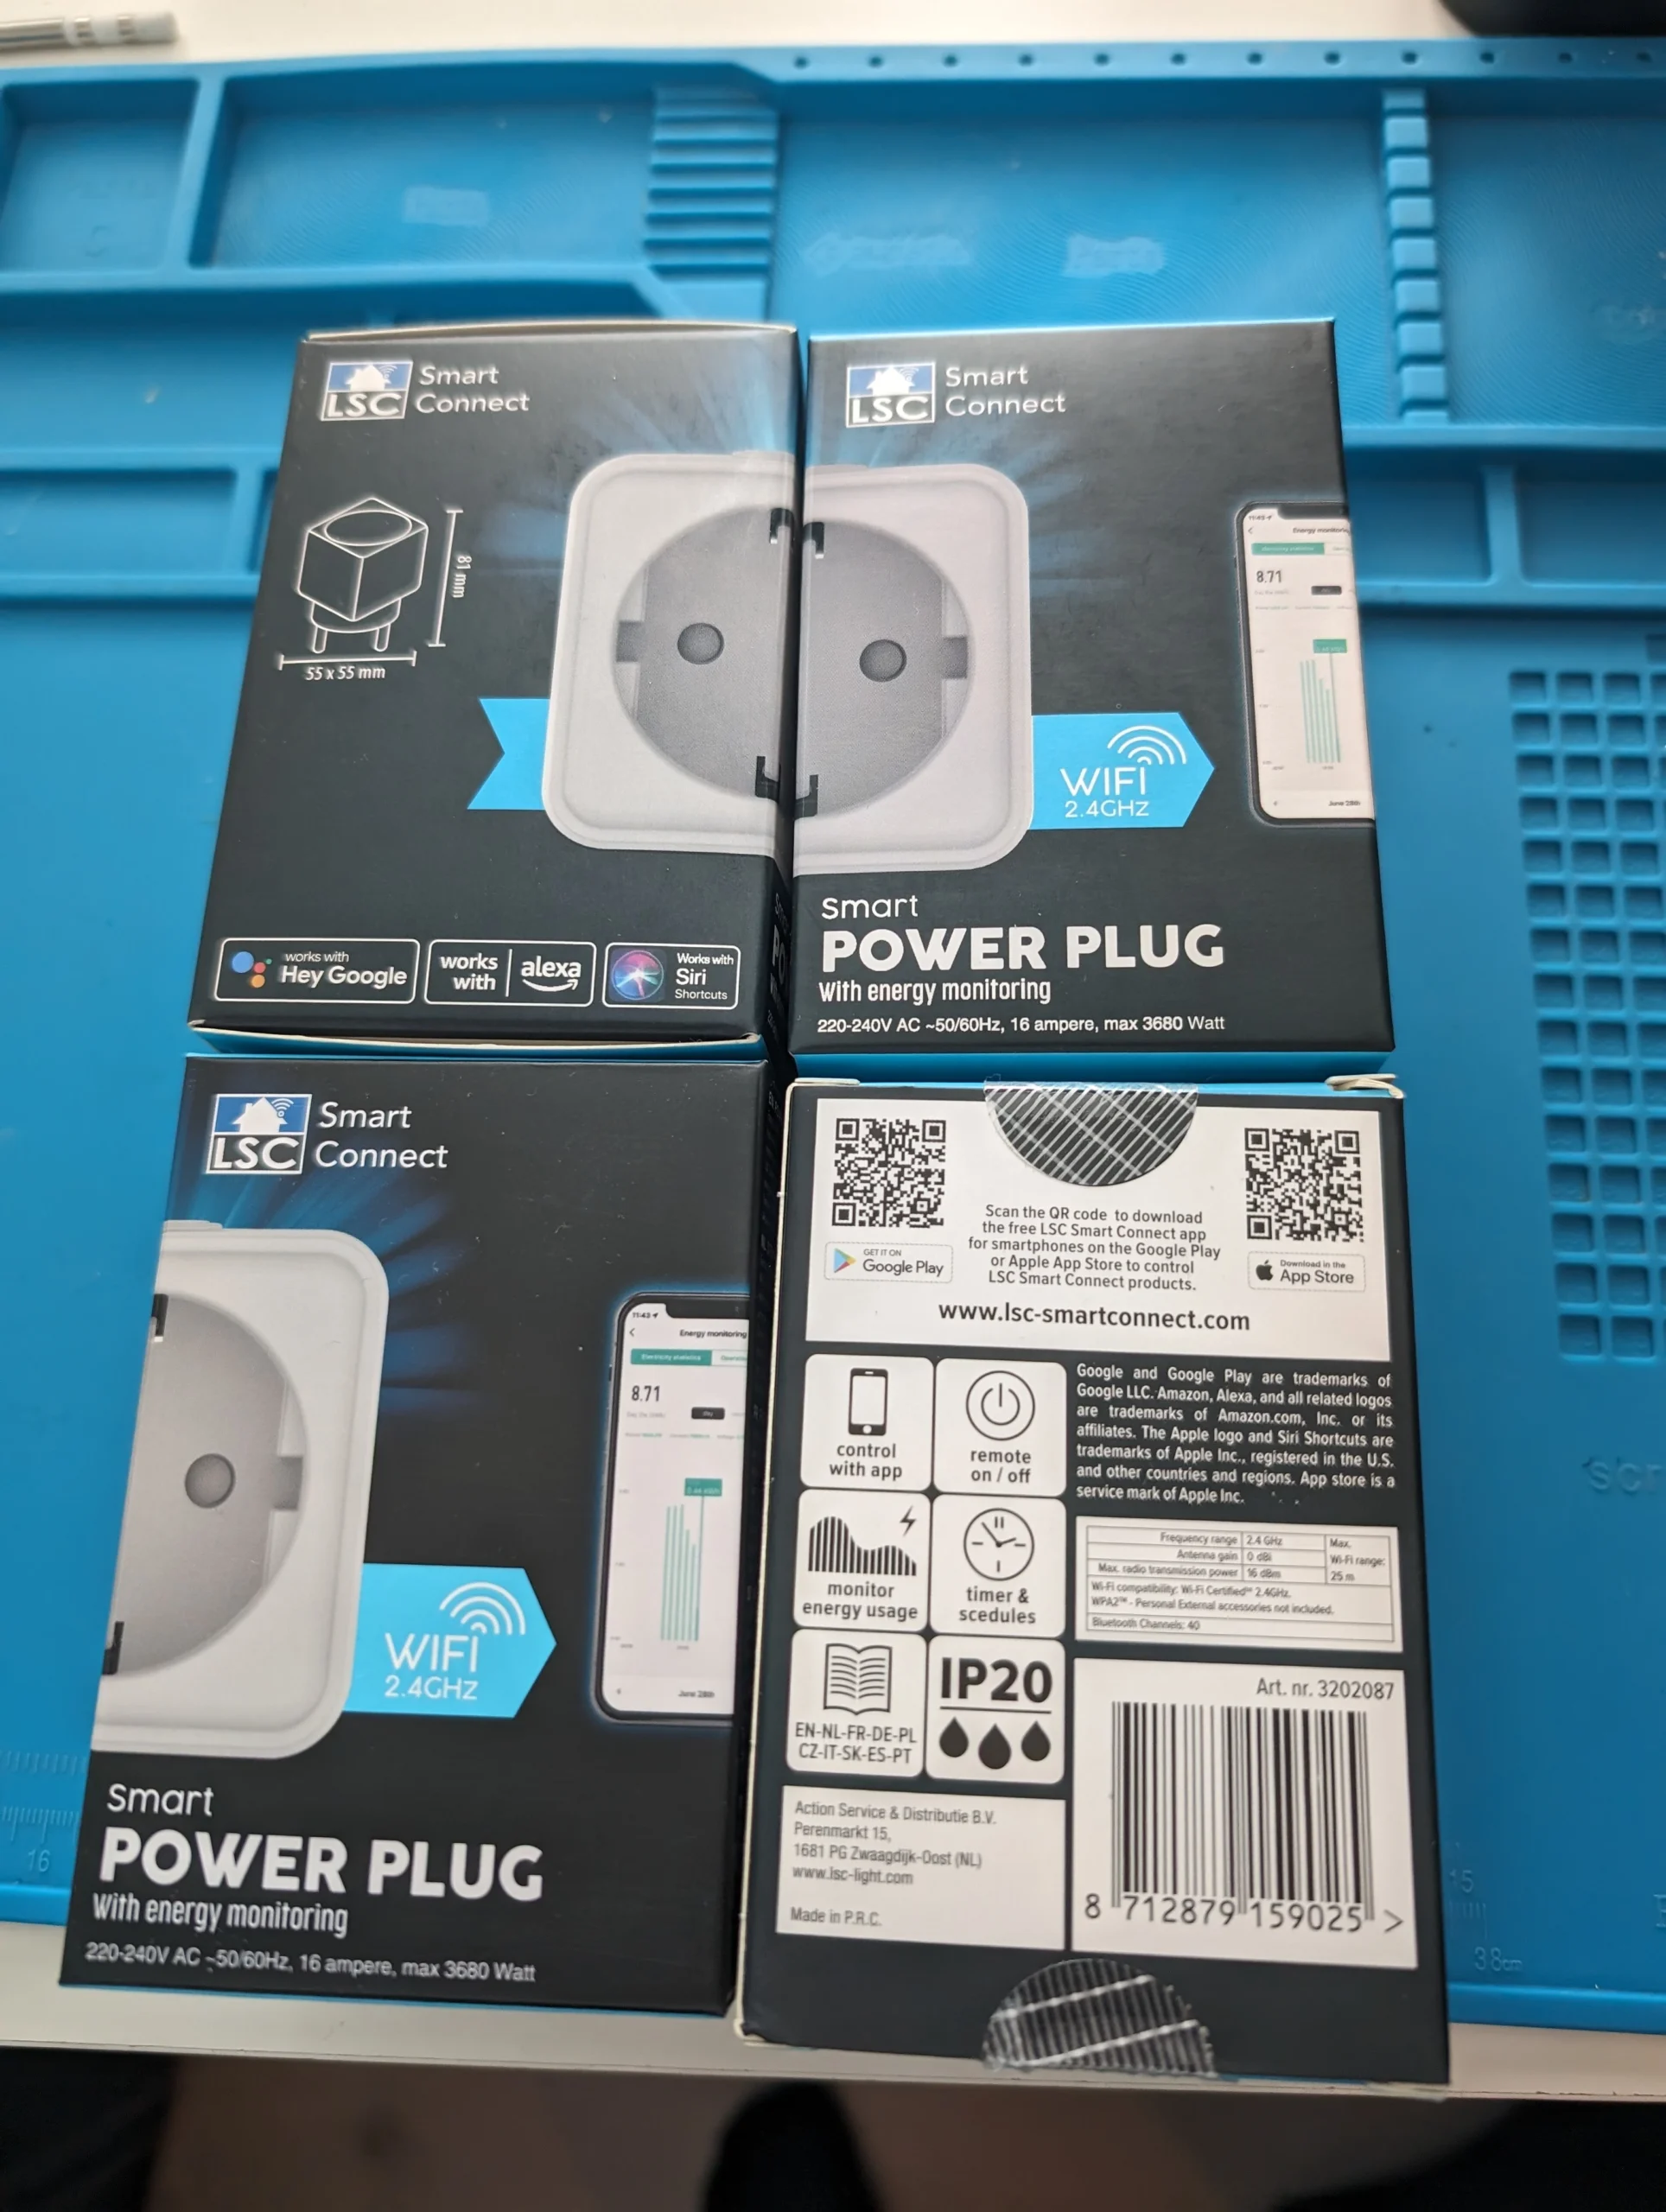
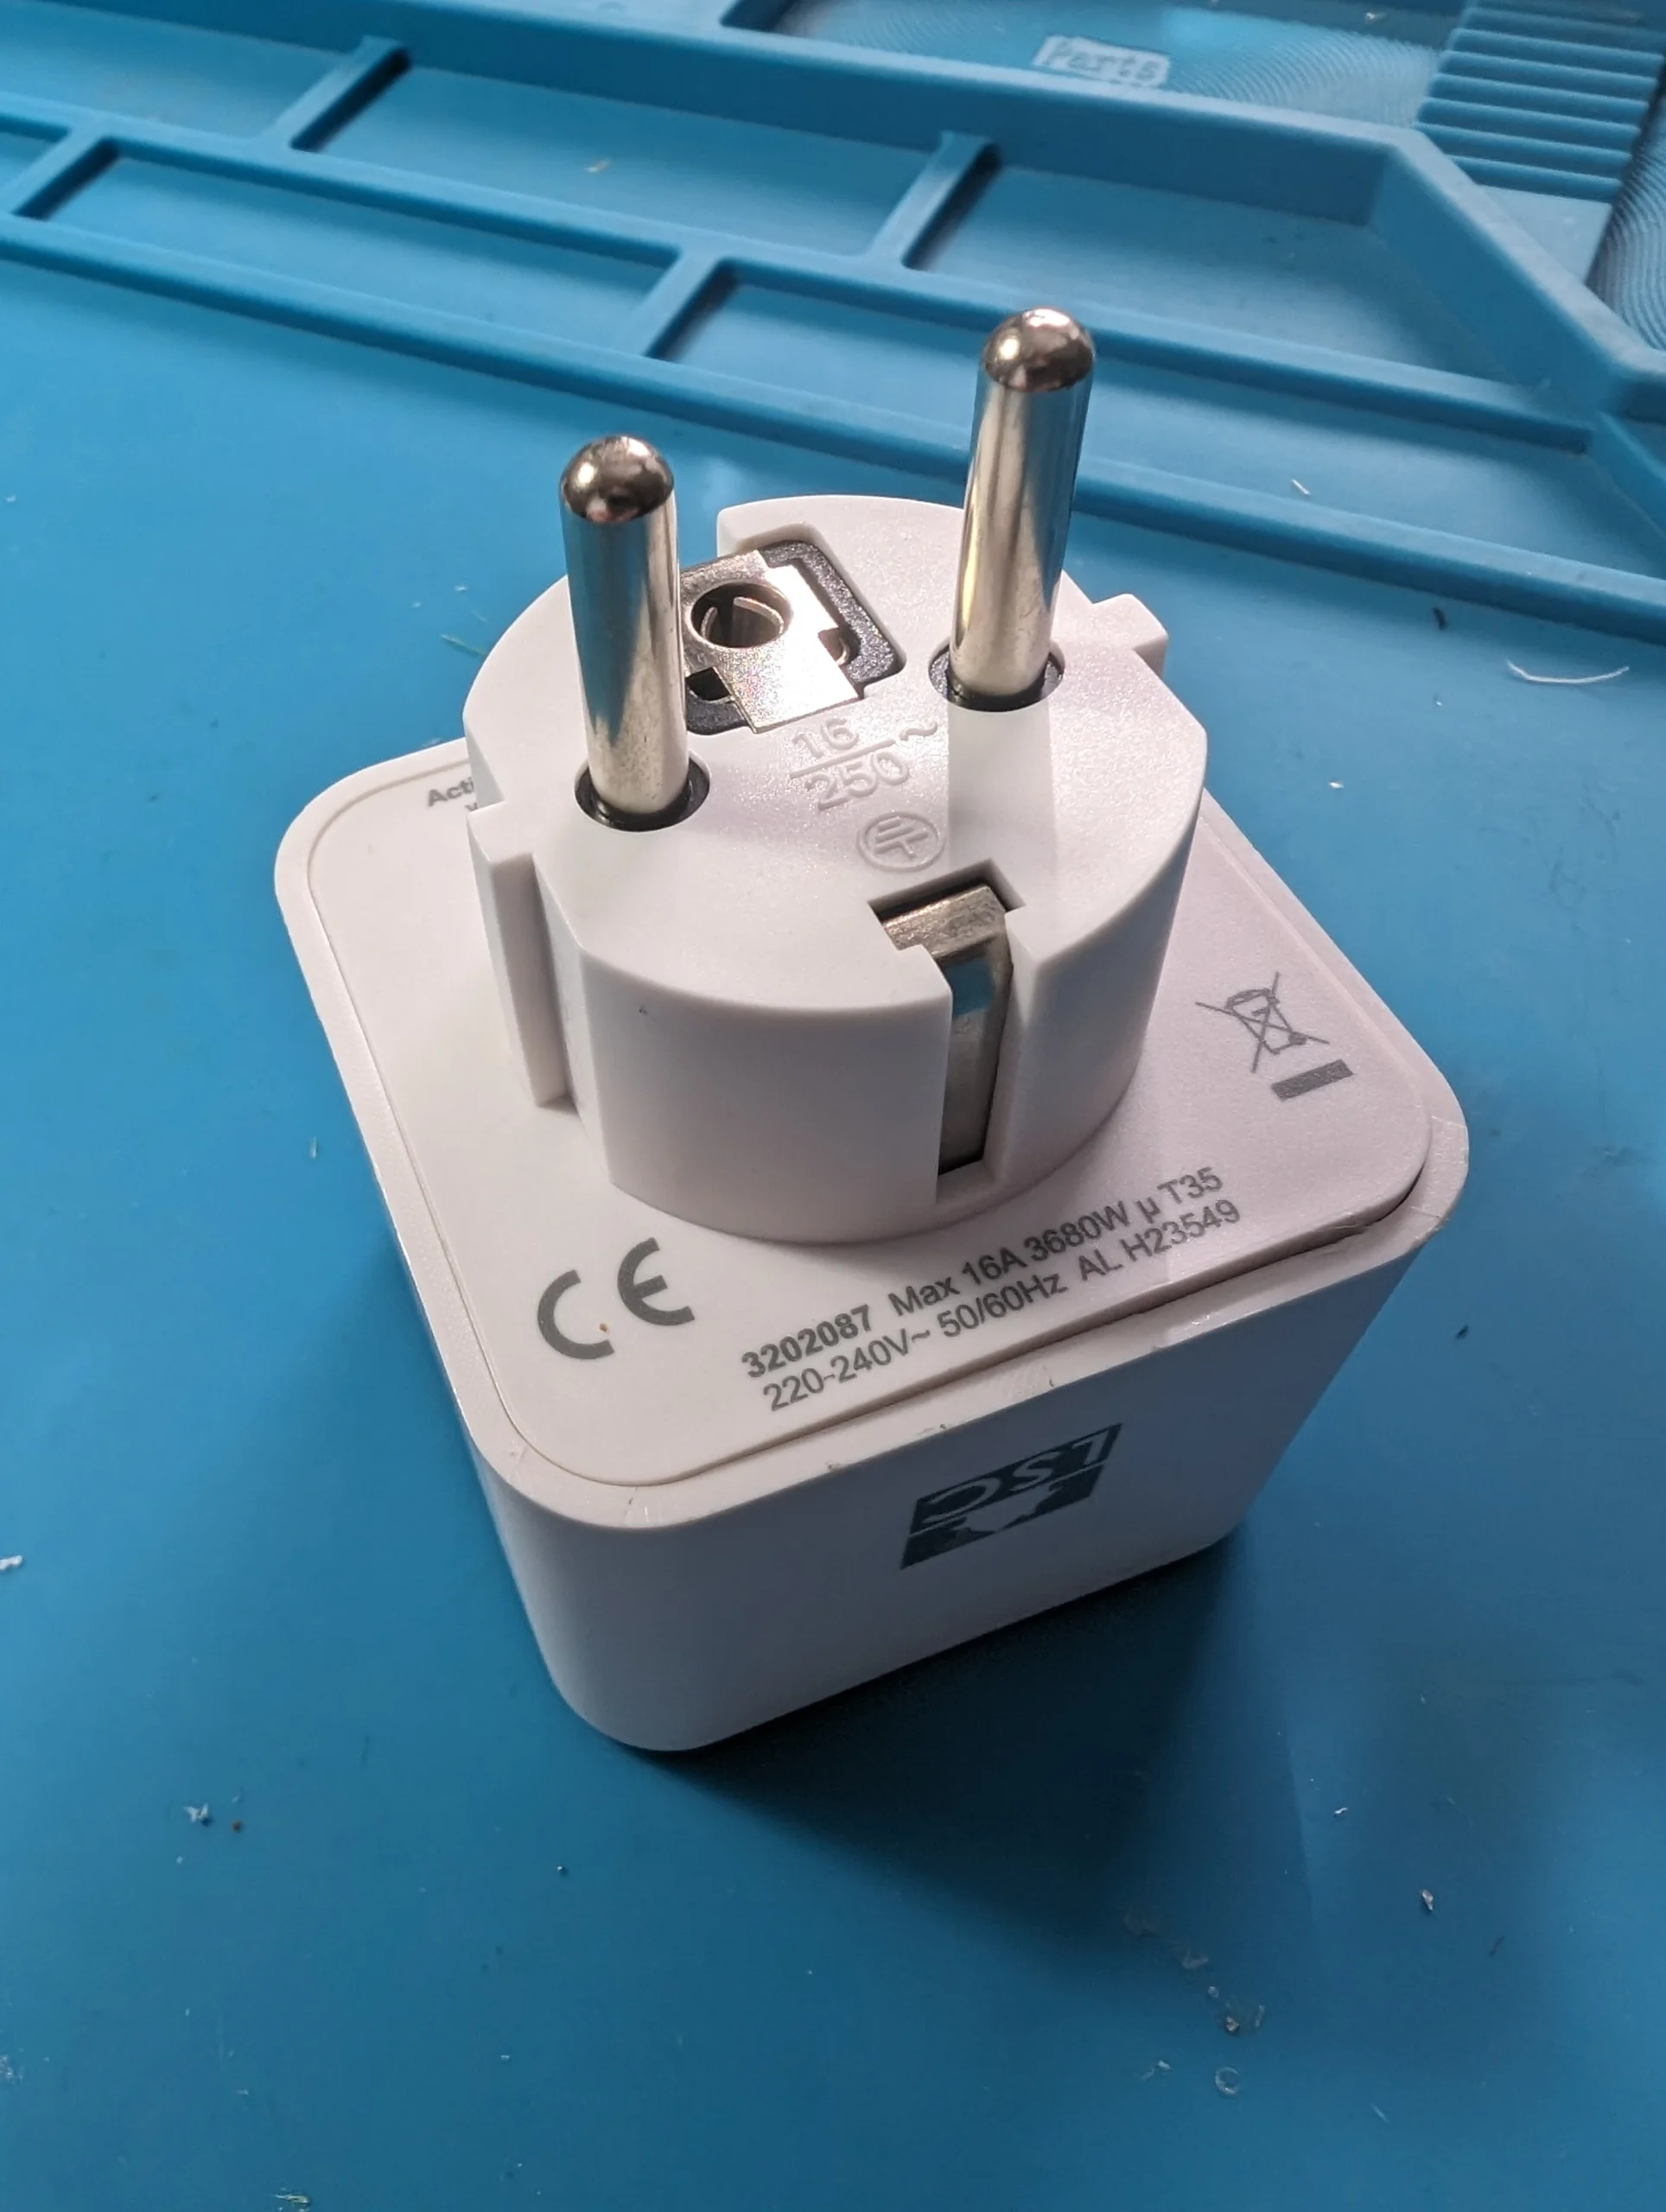
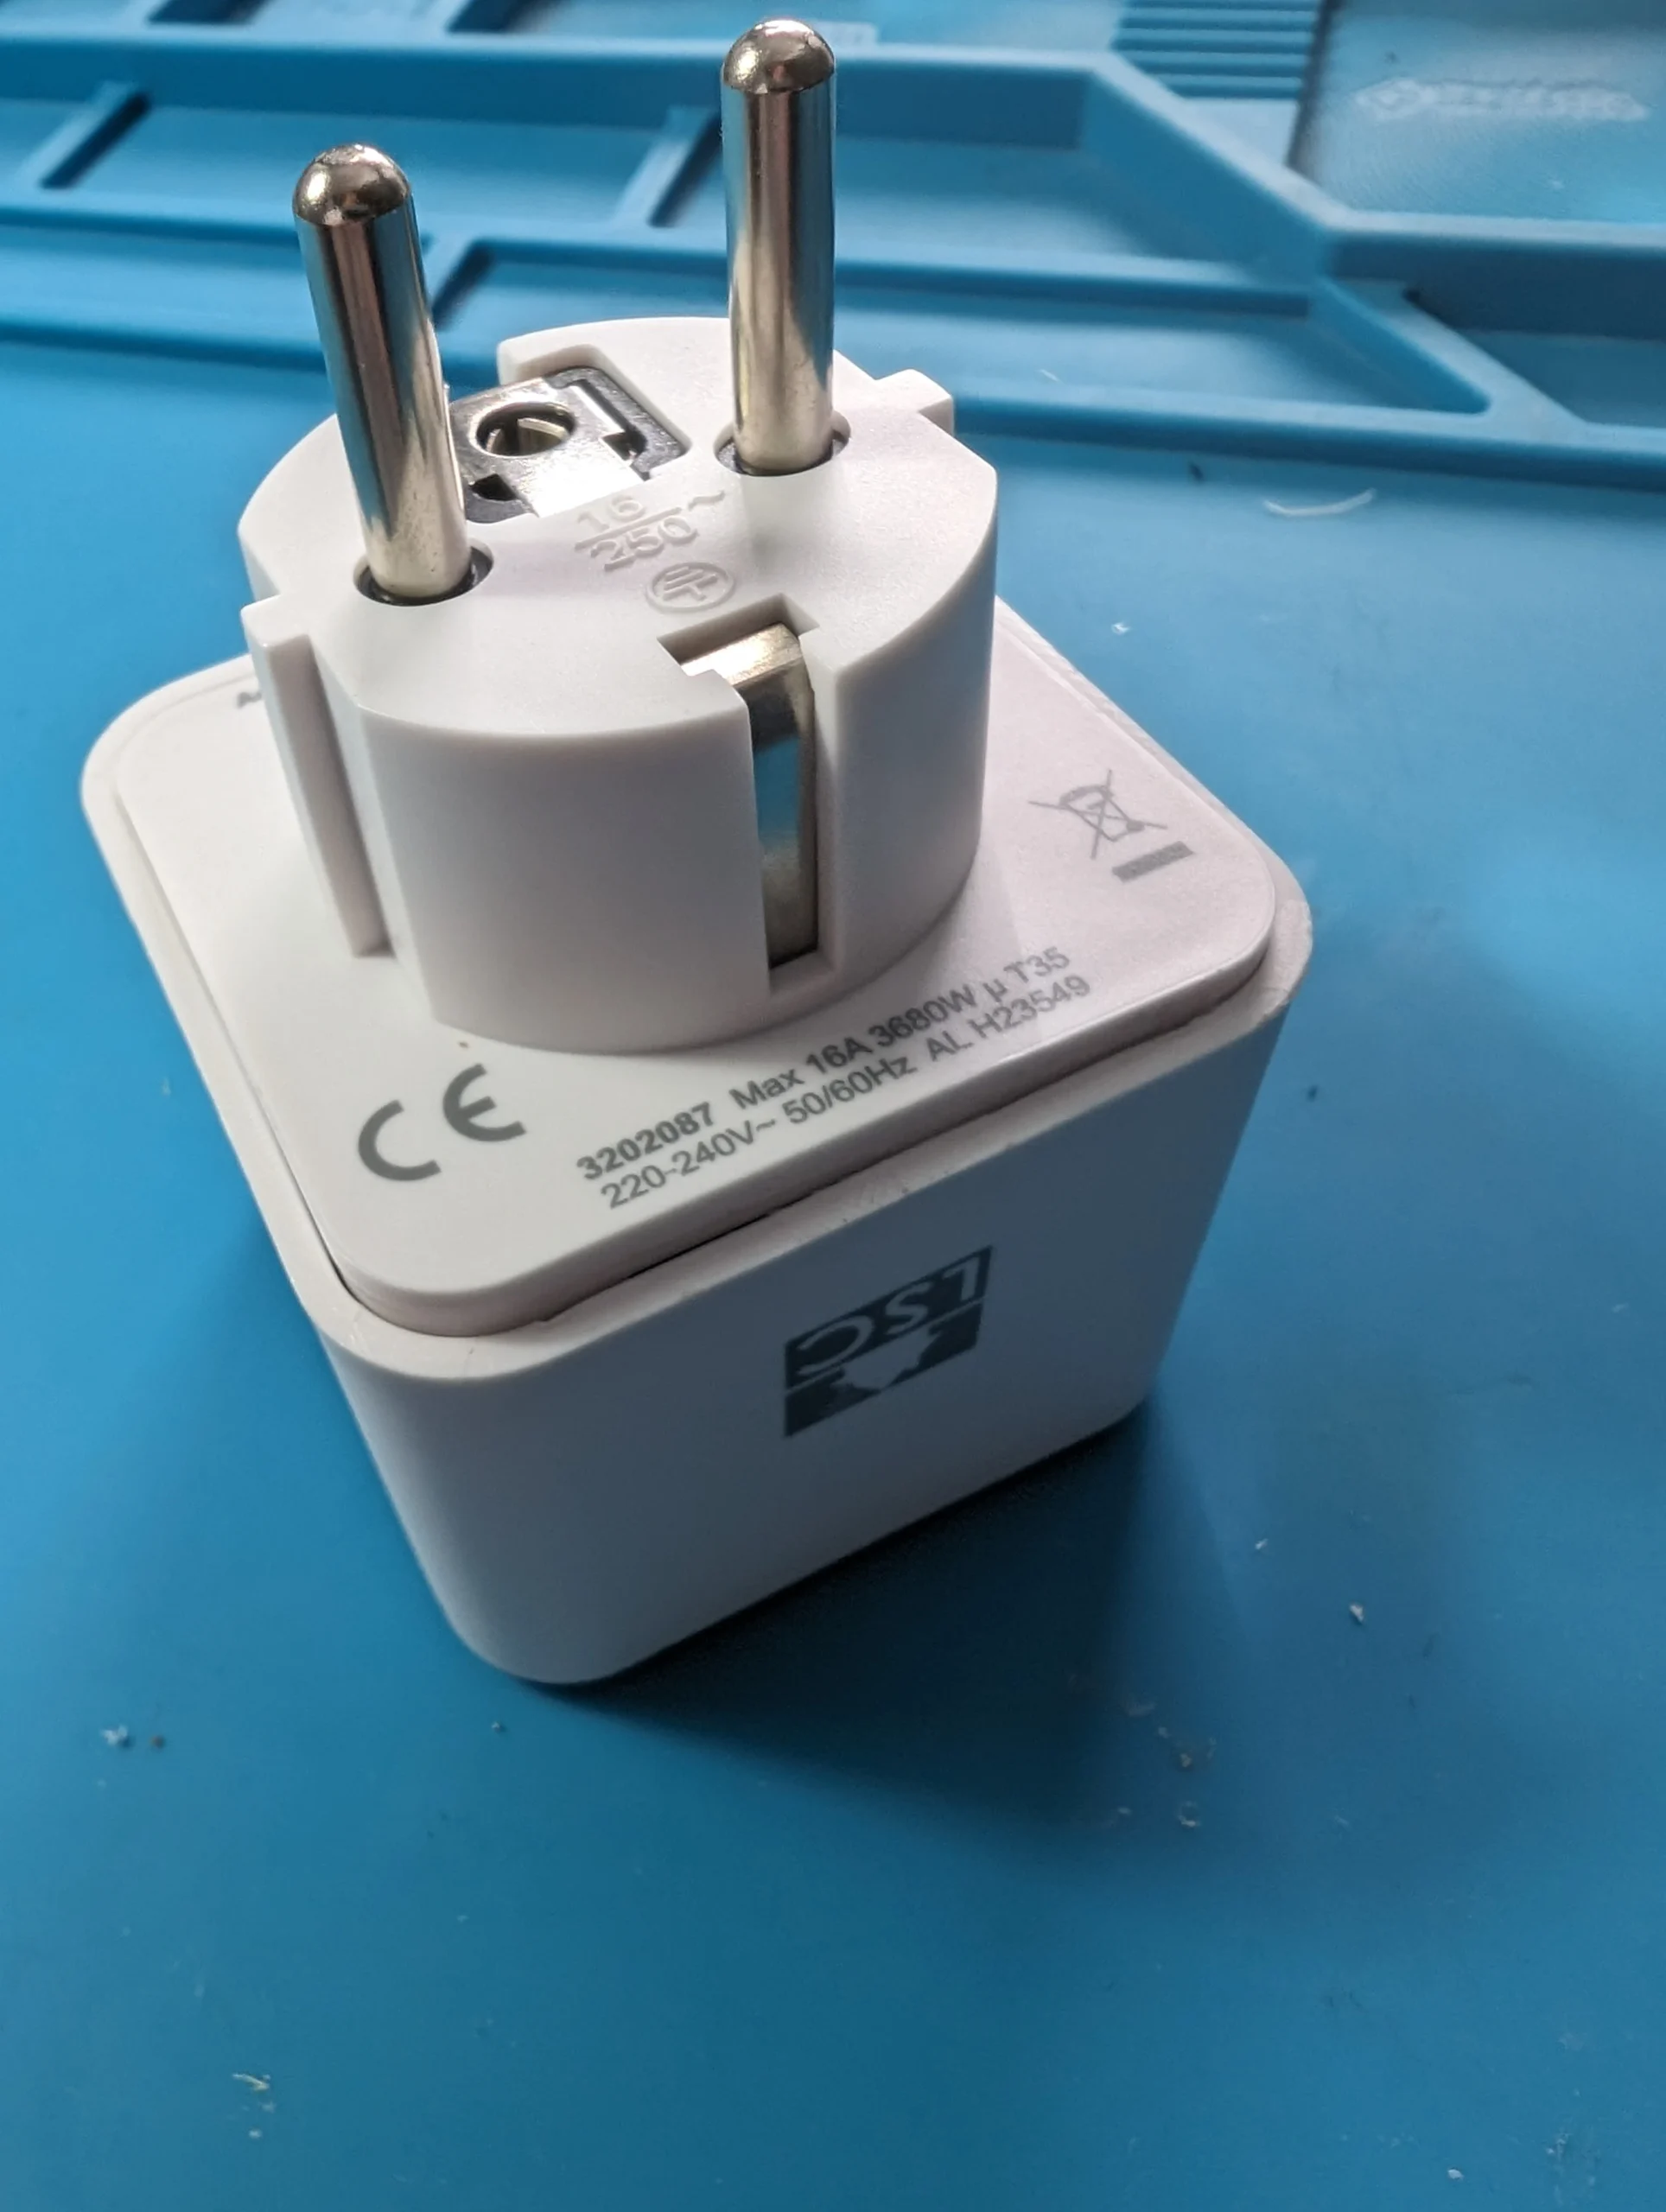
Action LSC power plug 2024
I bought some power plugs from Action again. Years ago I also flashed these, but Action replaced the ESP8266 chips. So flashing ESPhome or Tastmota was not possible anymore.
Now in 2024 the LSC smart power plugs with articlenumber: 3202087 are flashable again. Cloudcutter does not work. You have to pry them open.
UPDATE 25-08-2025: from my blog readers I heard the LSC smart plugs are still flashable with articlenumber: 3202087
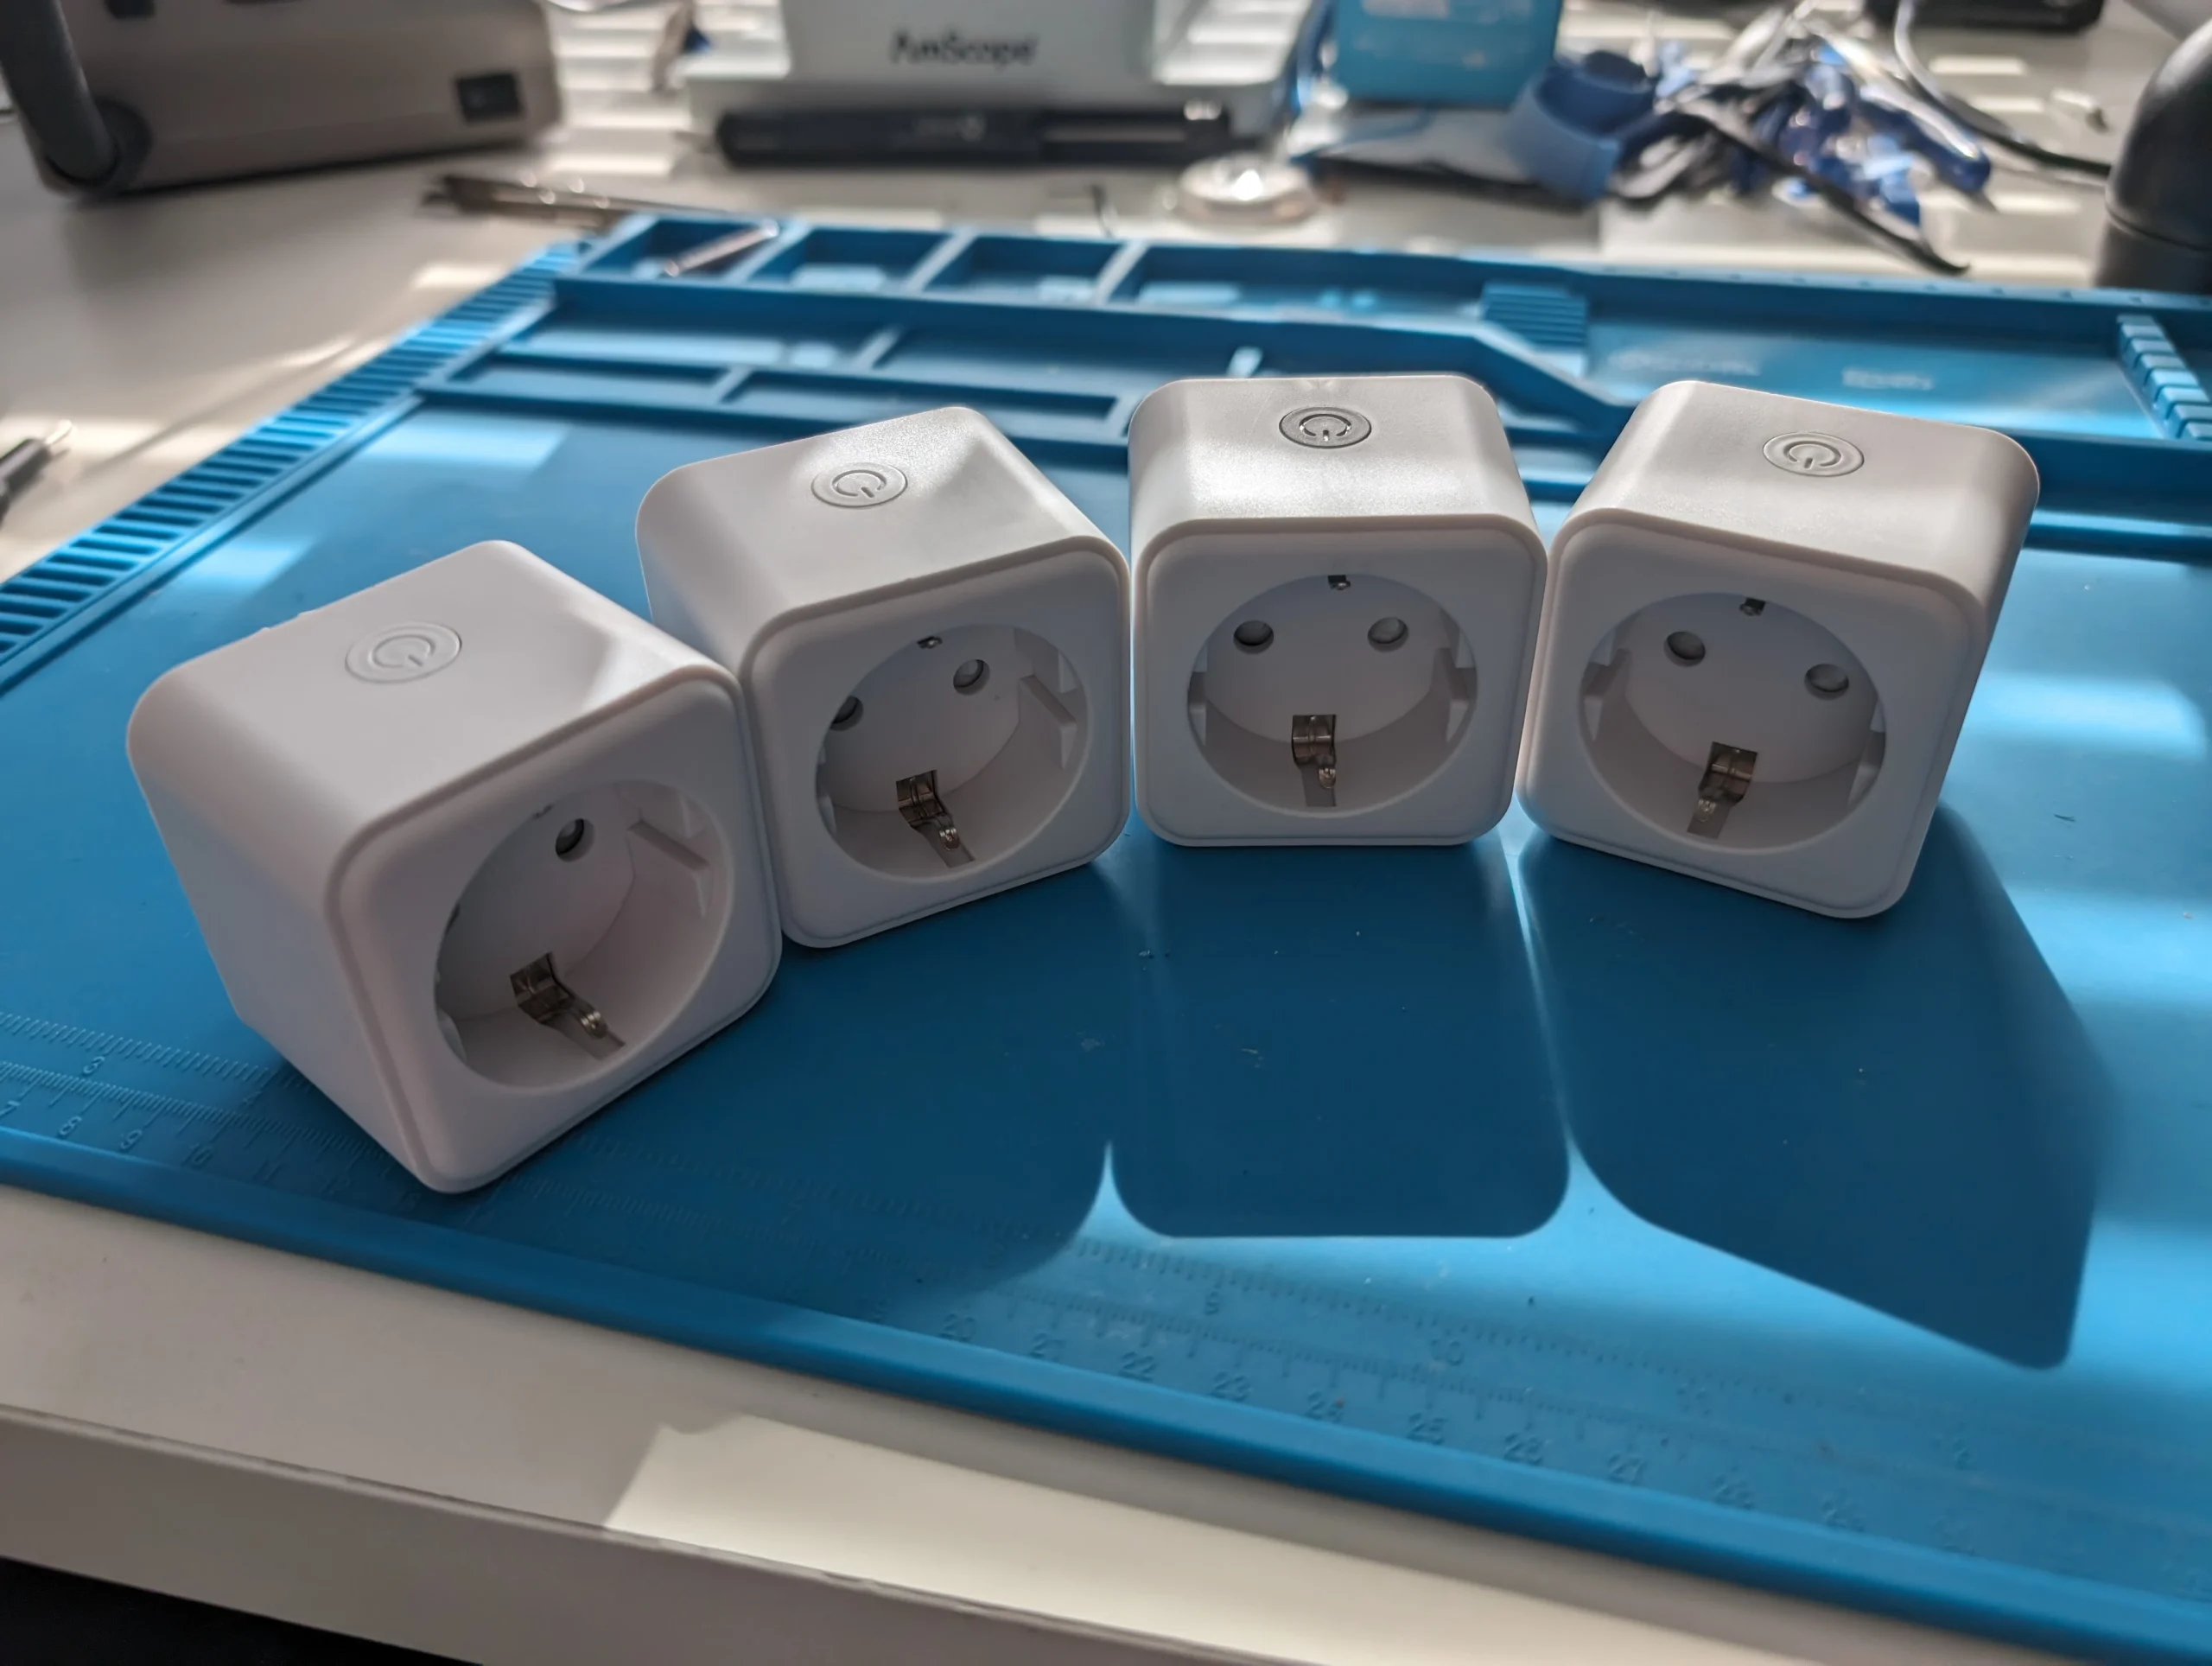
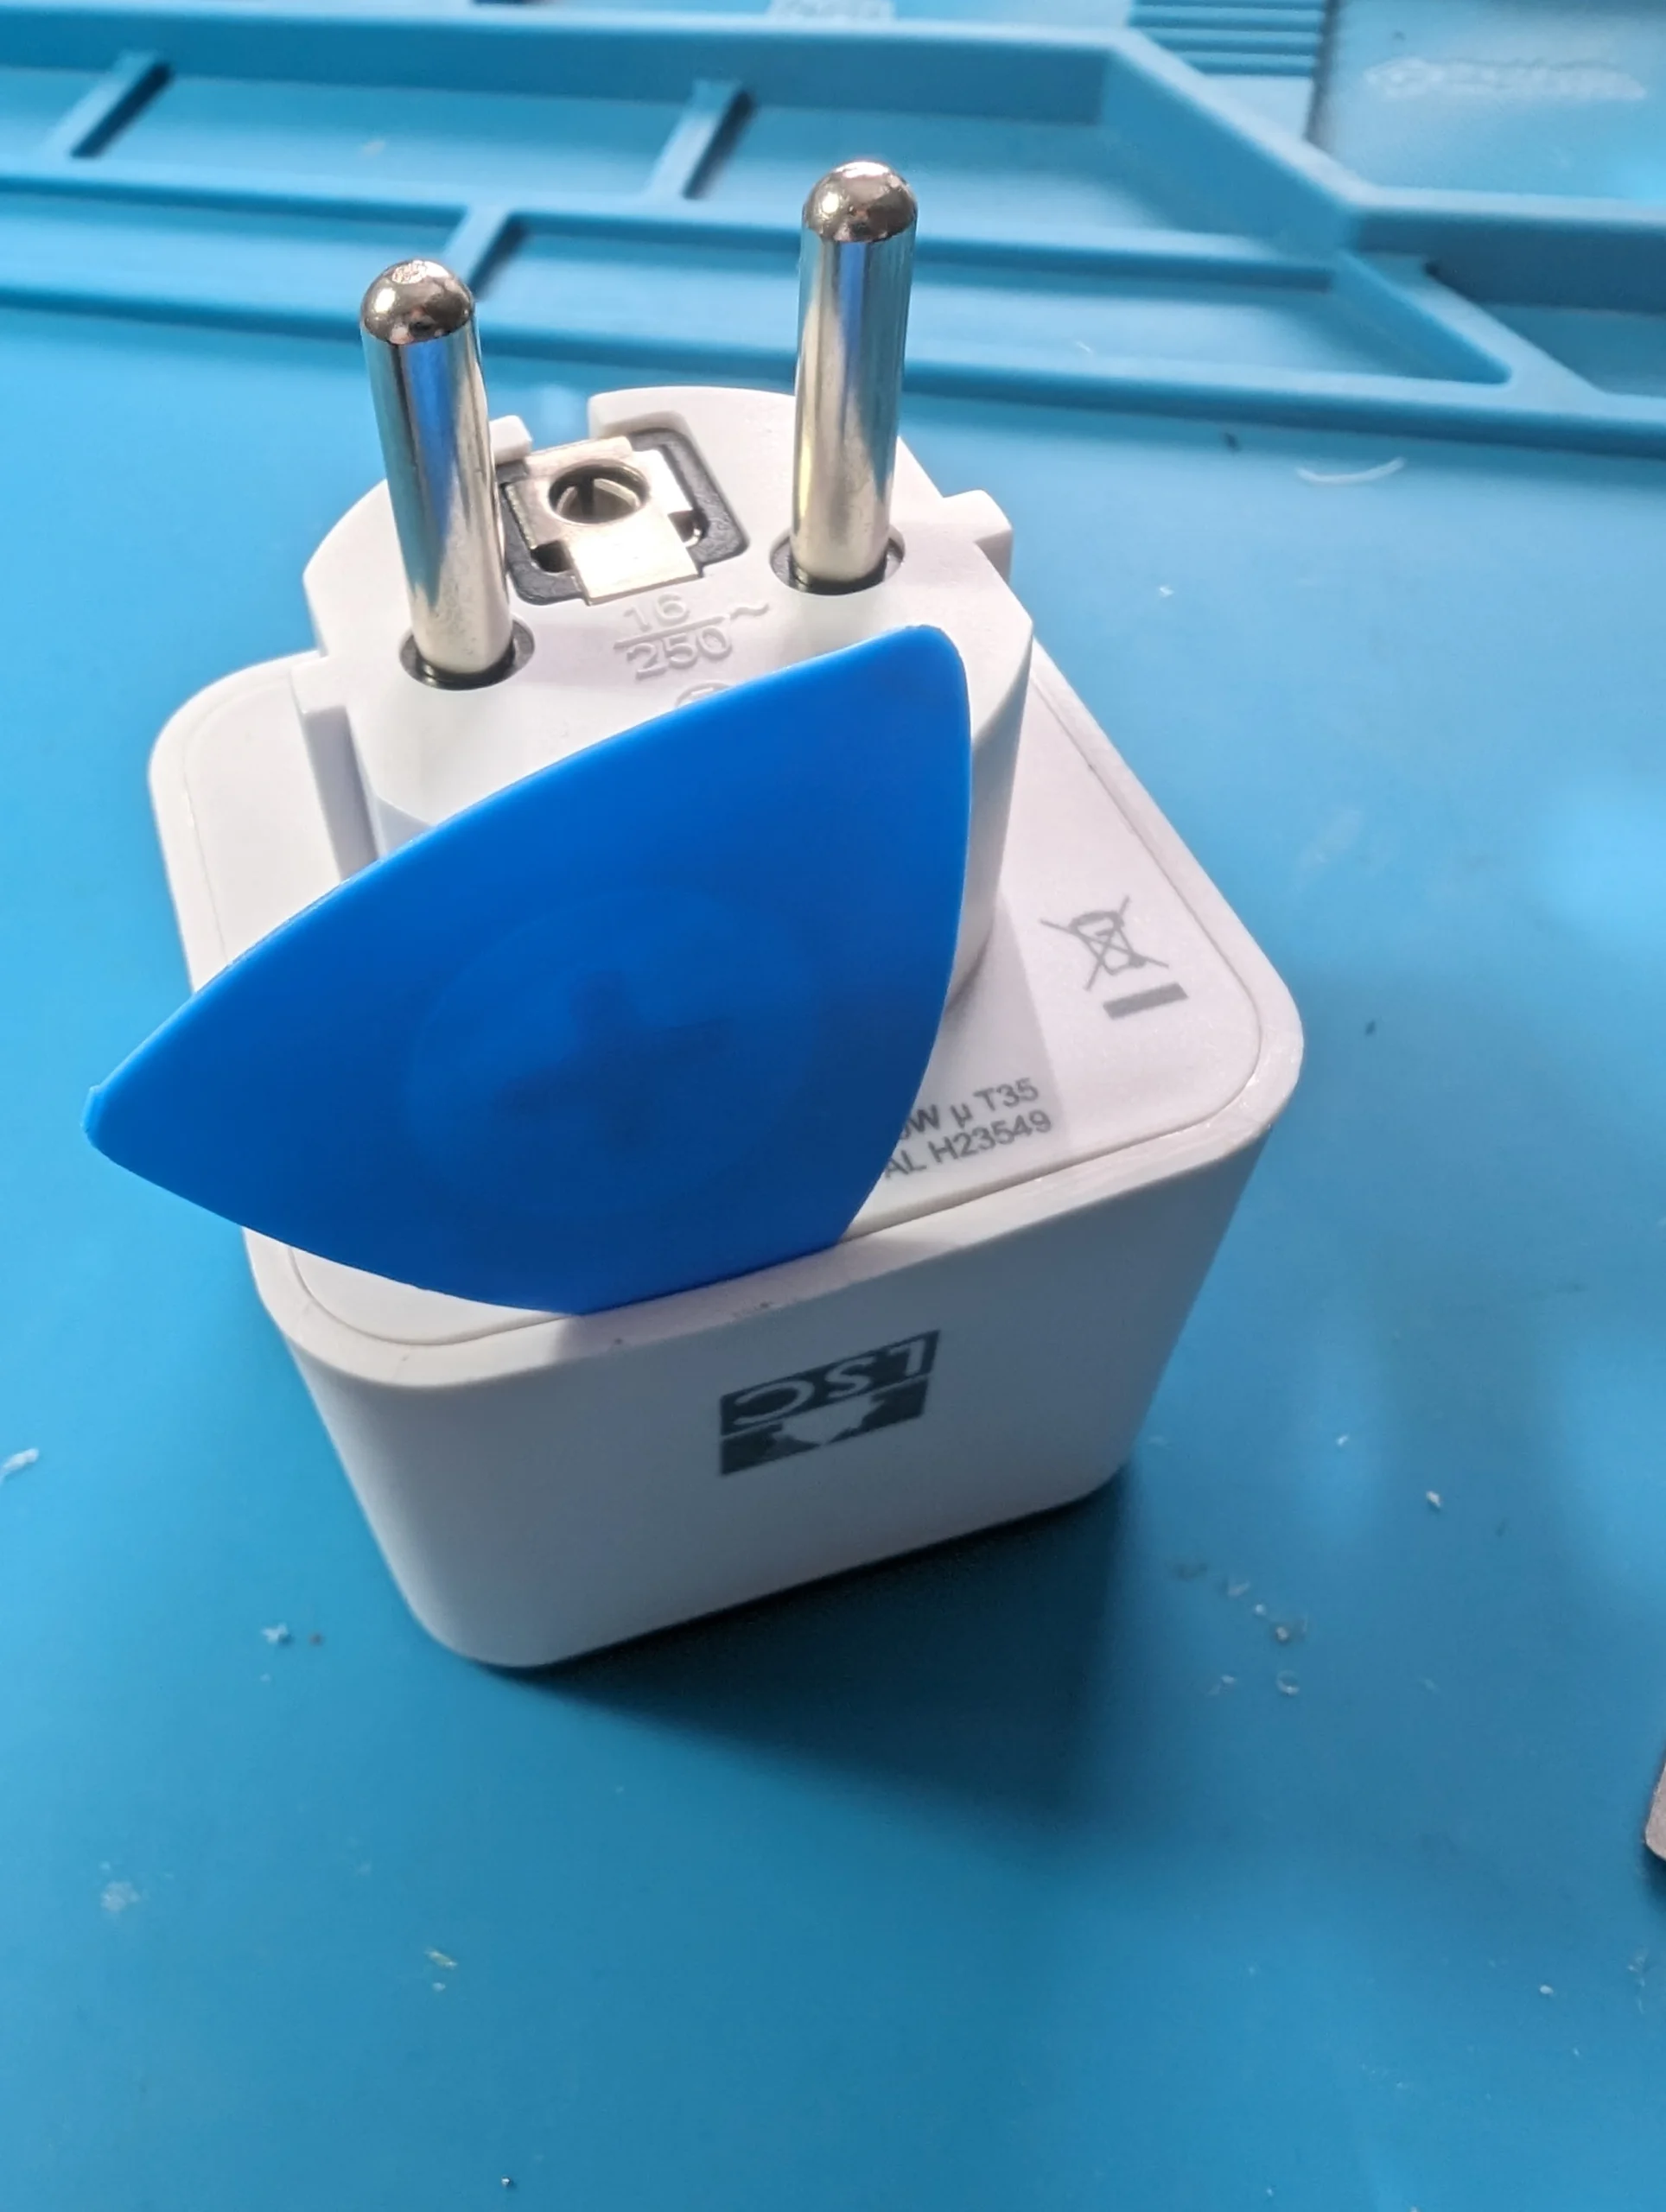
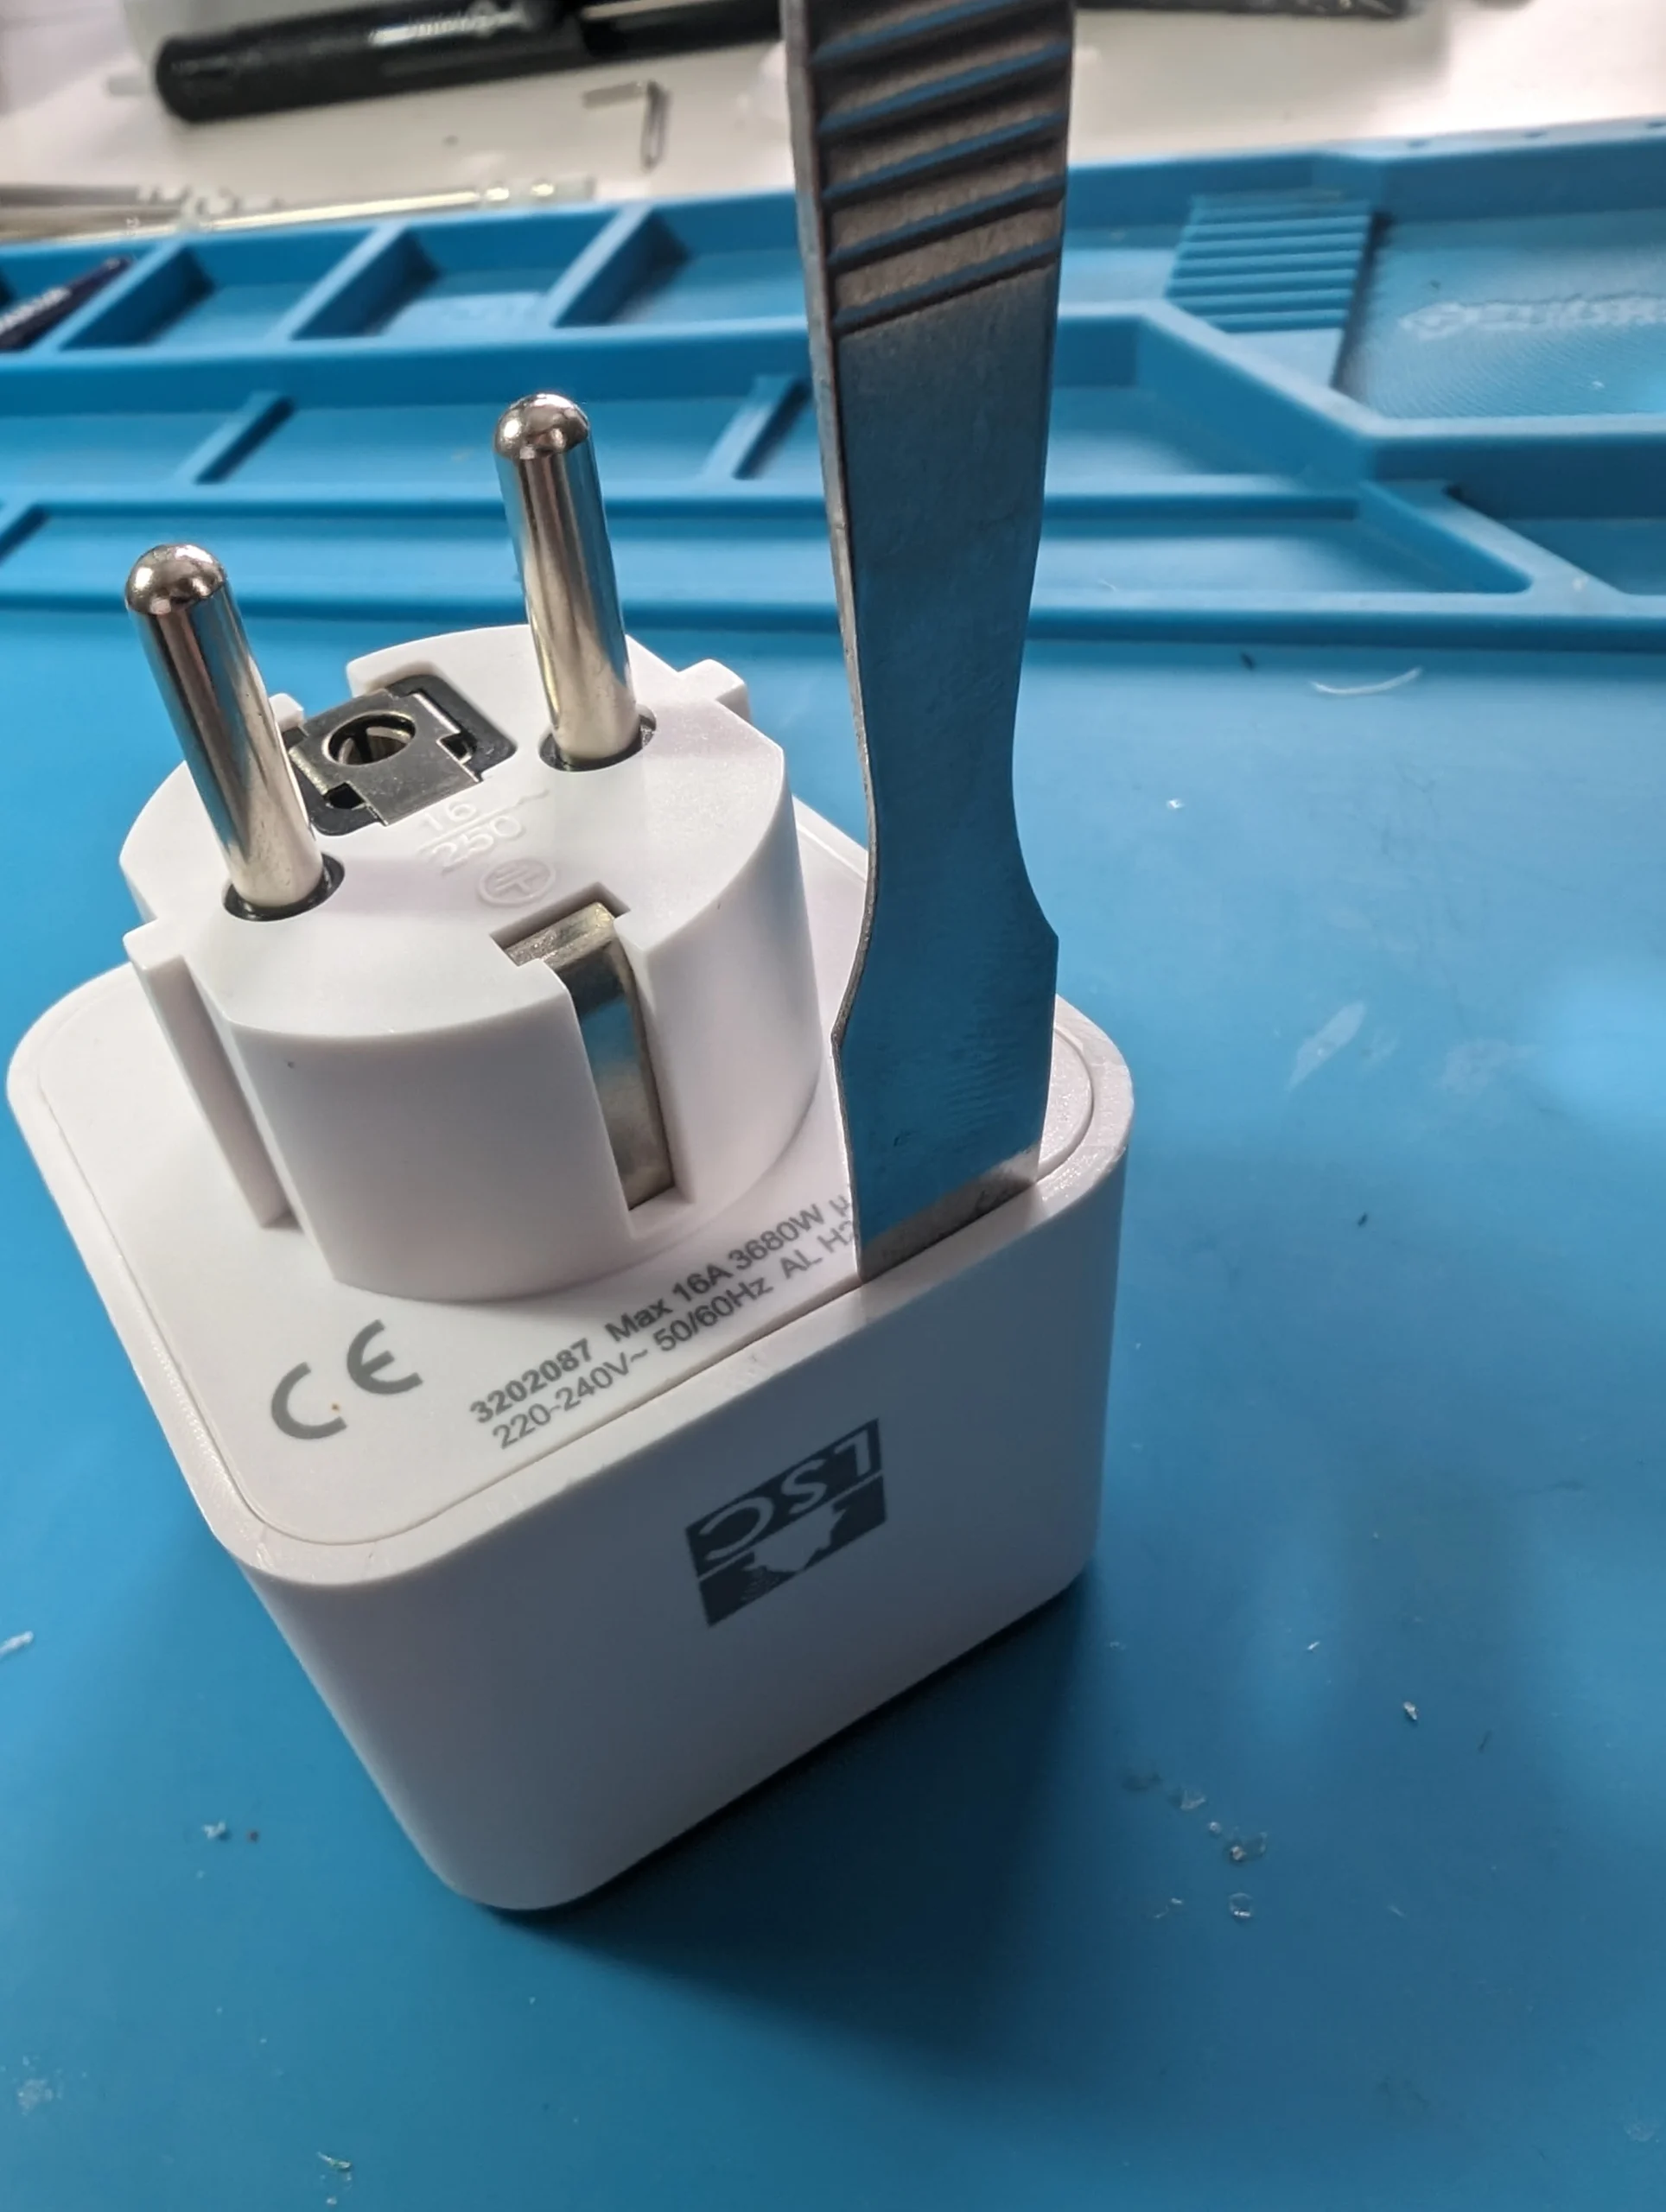
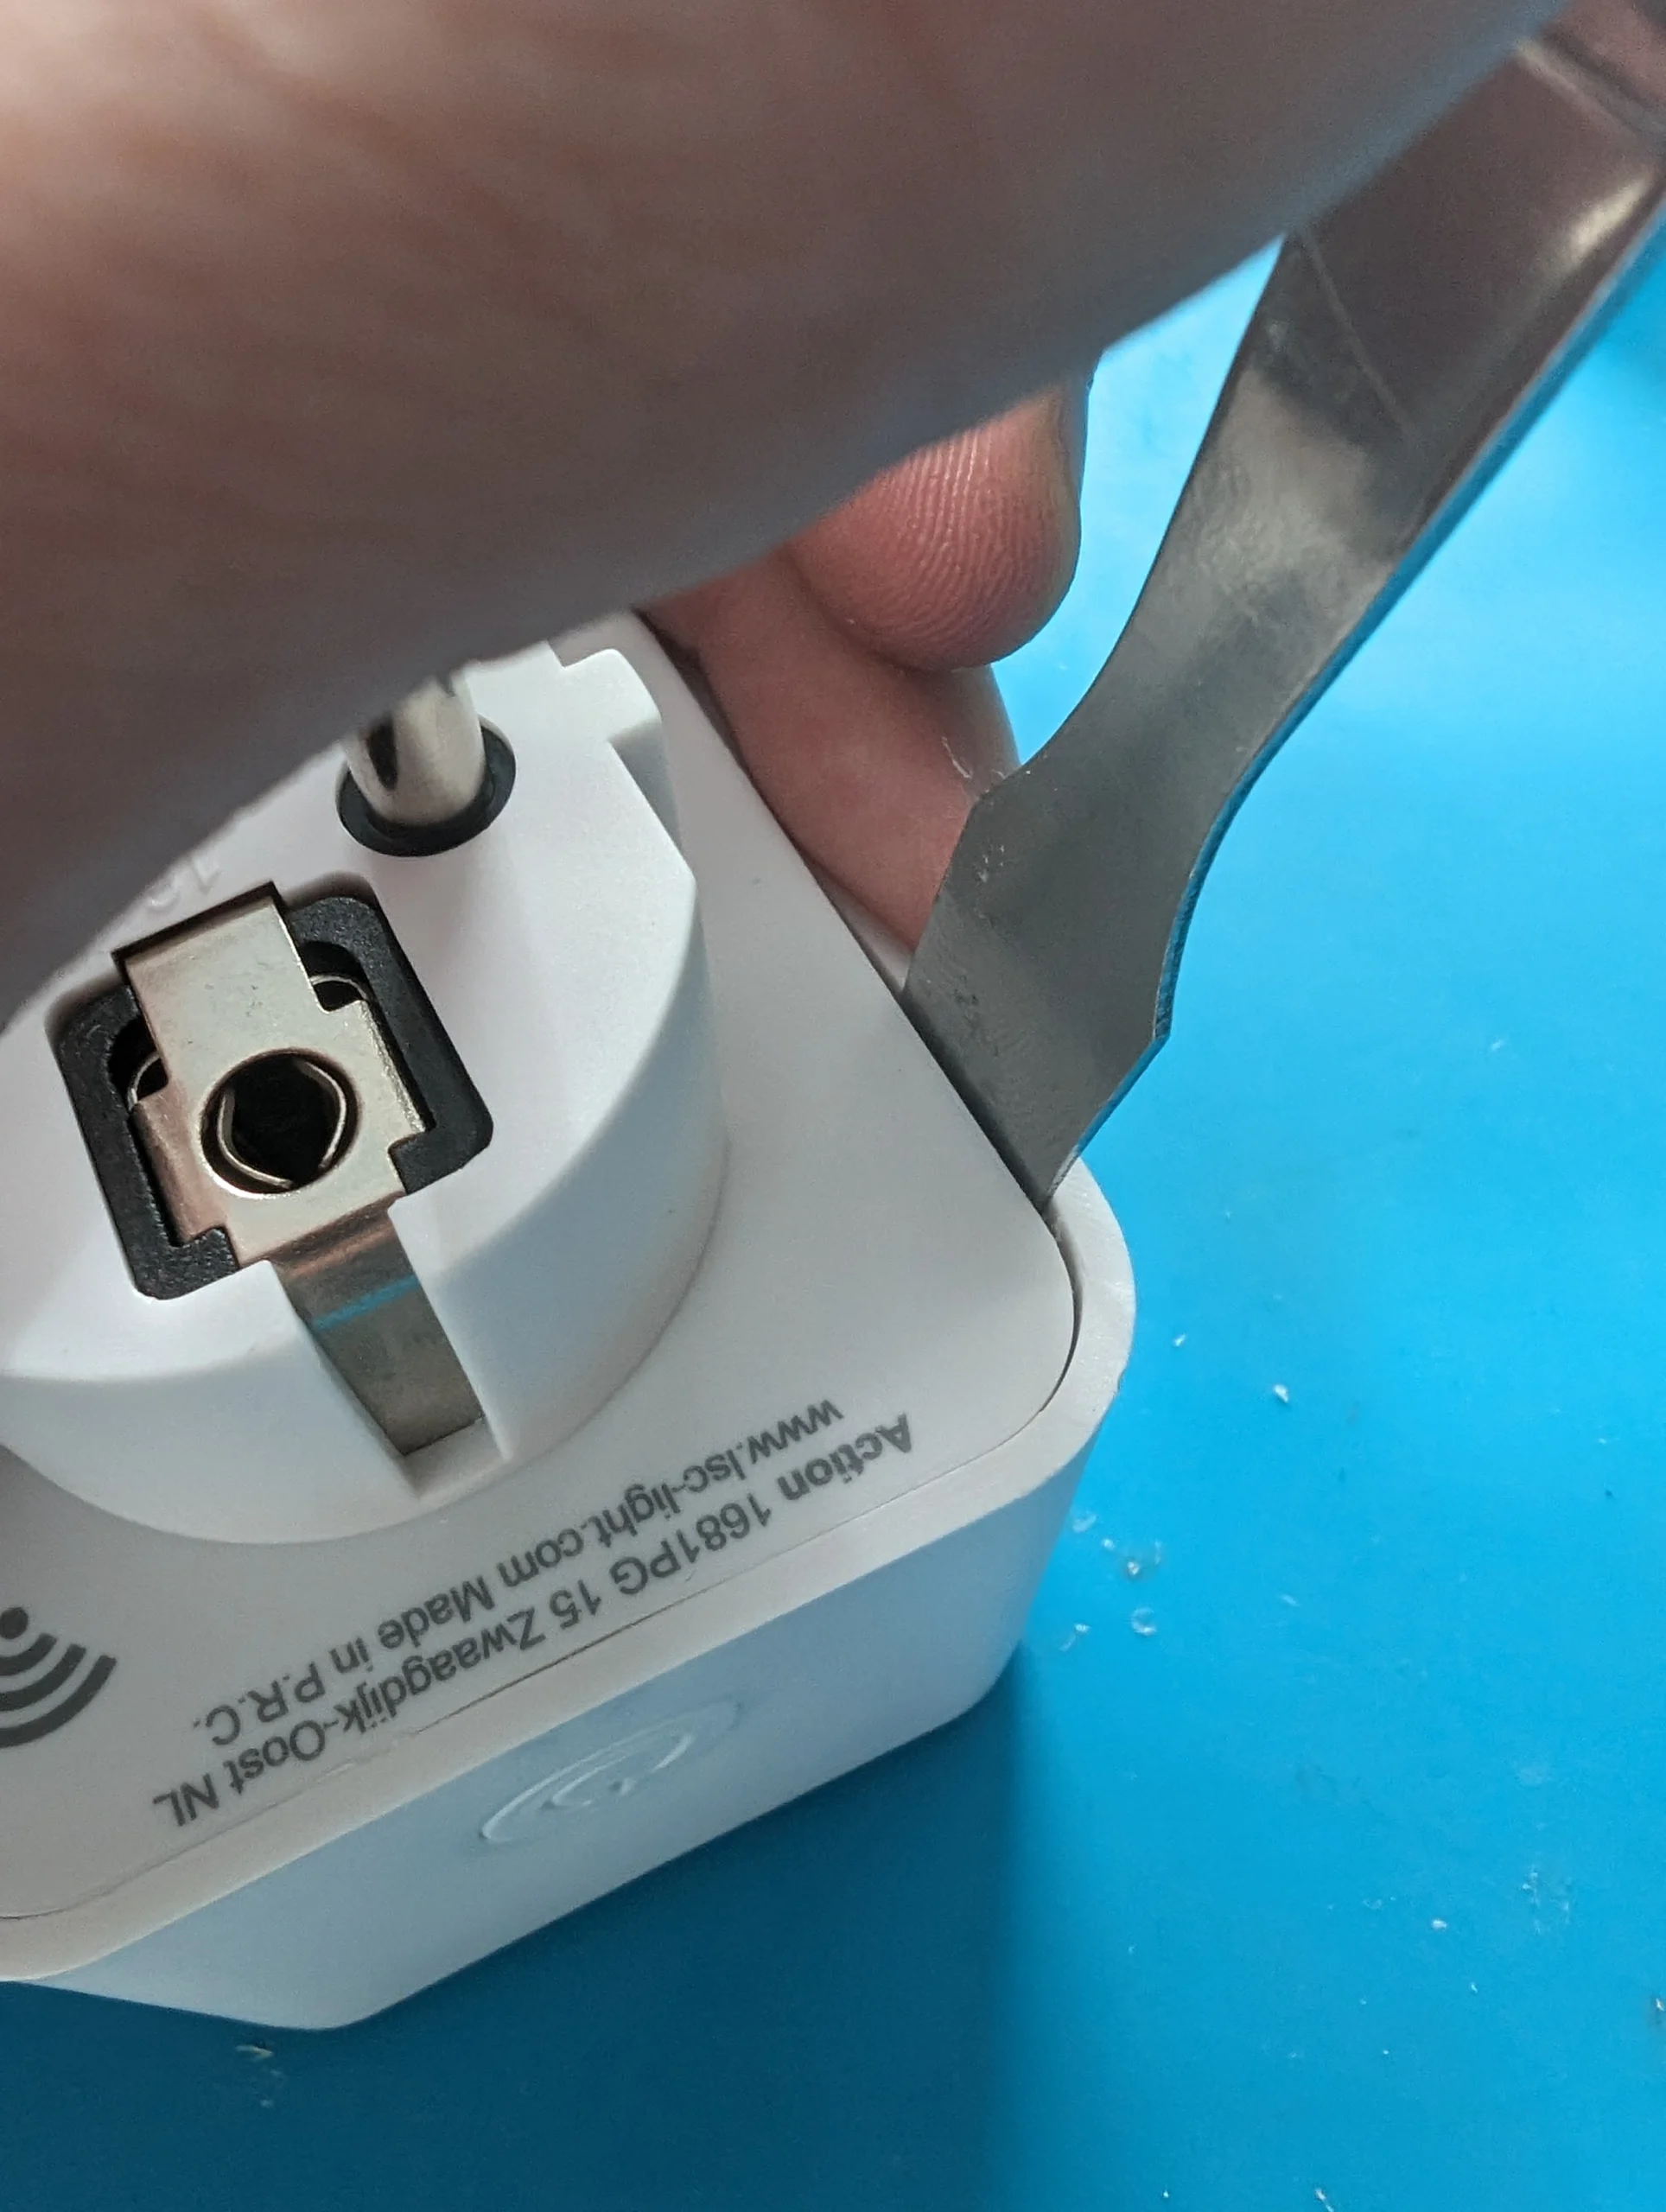
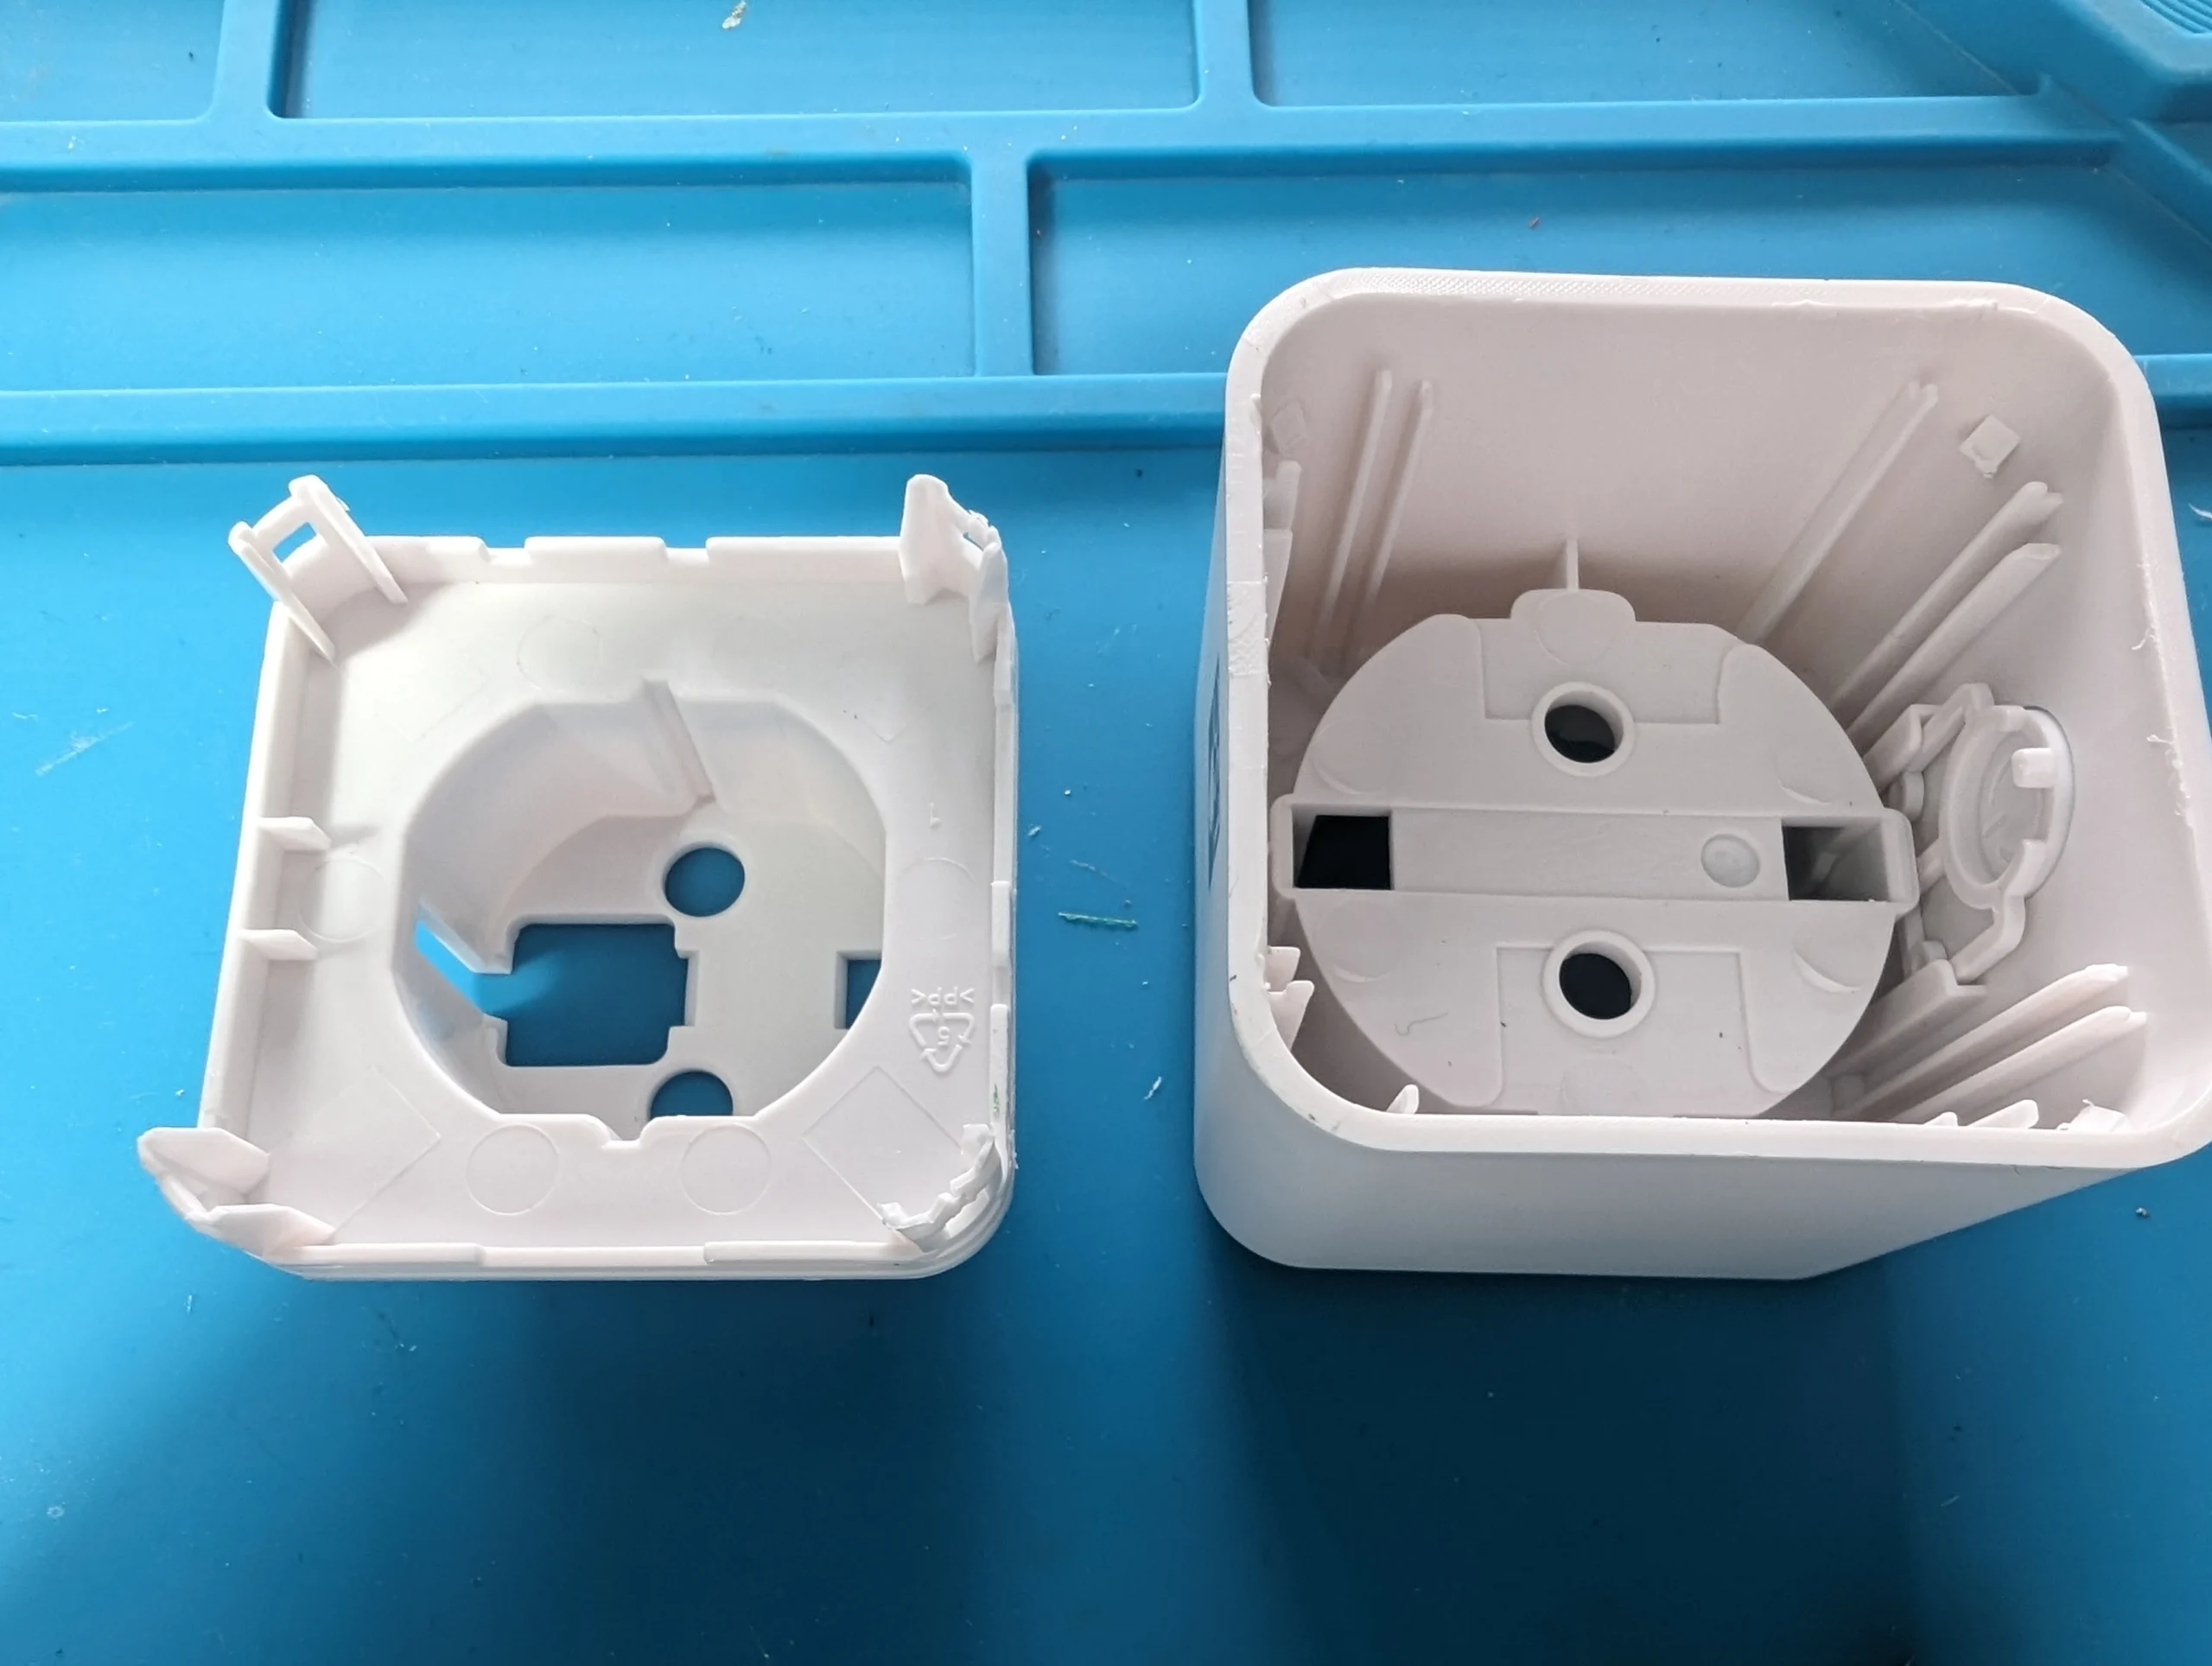
How to open LSC plug?
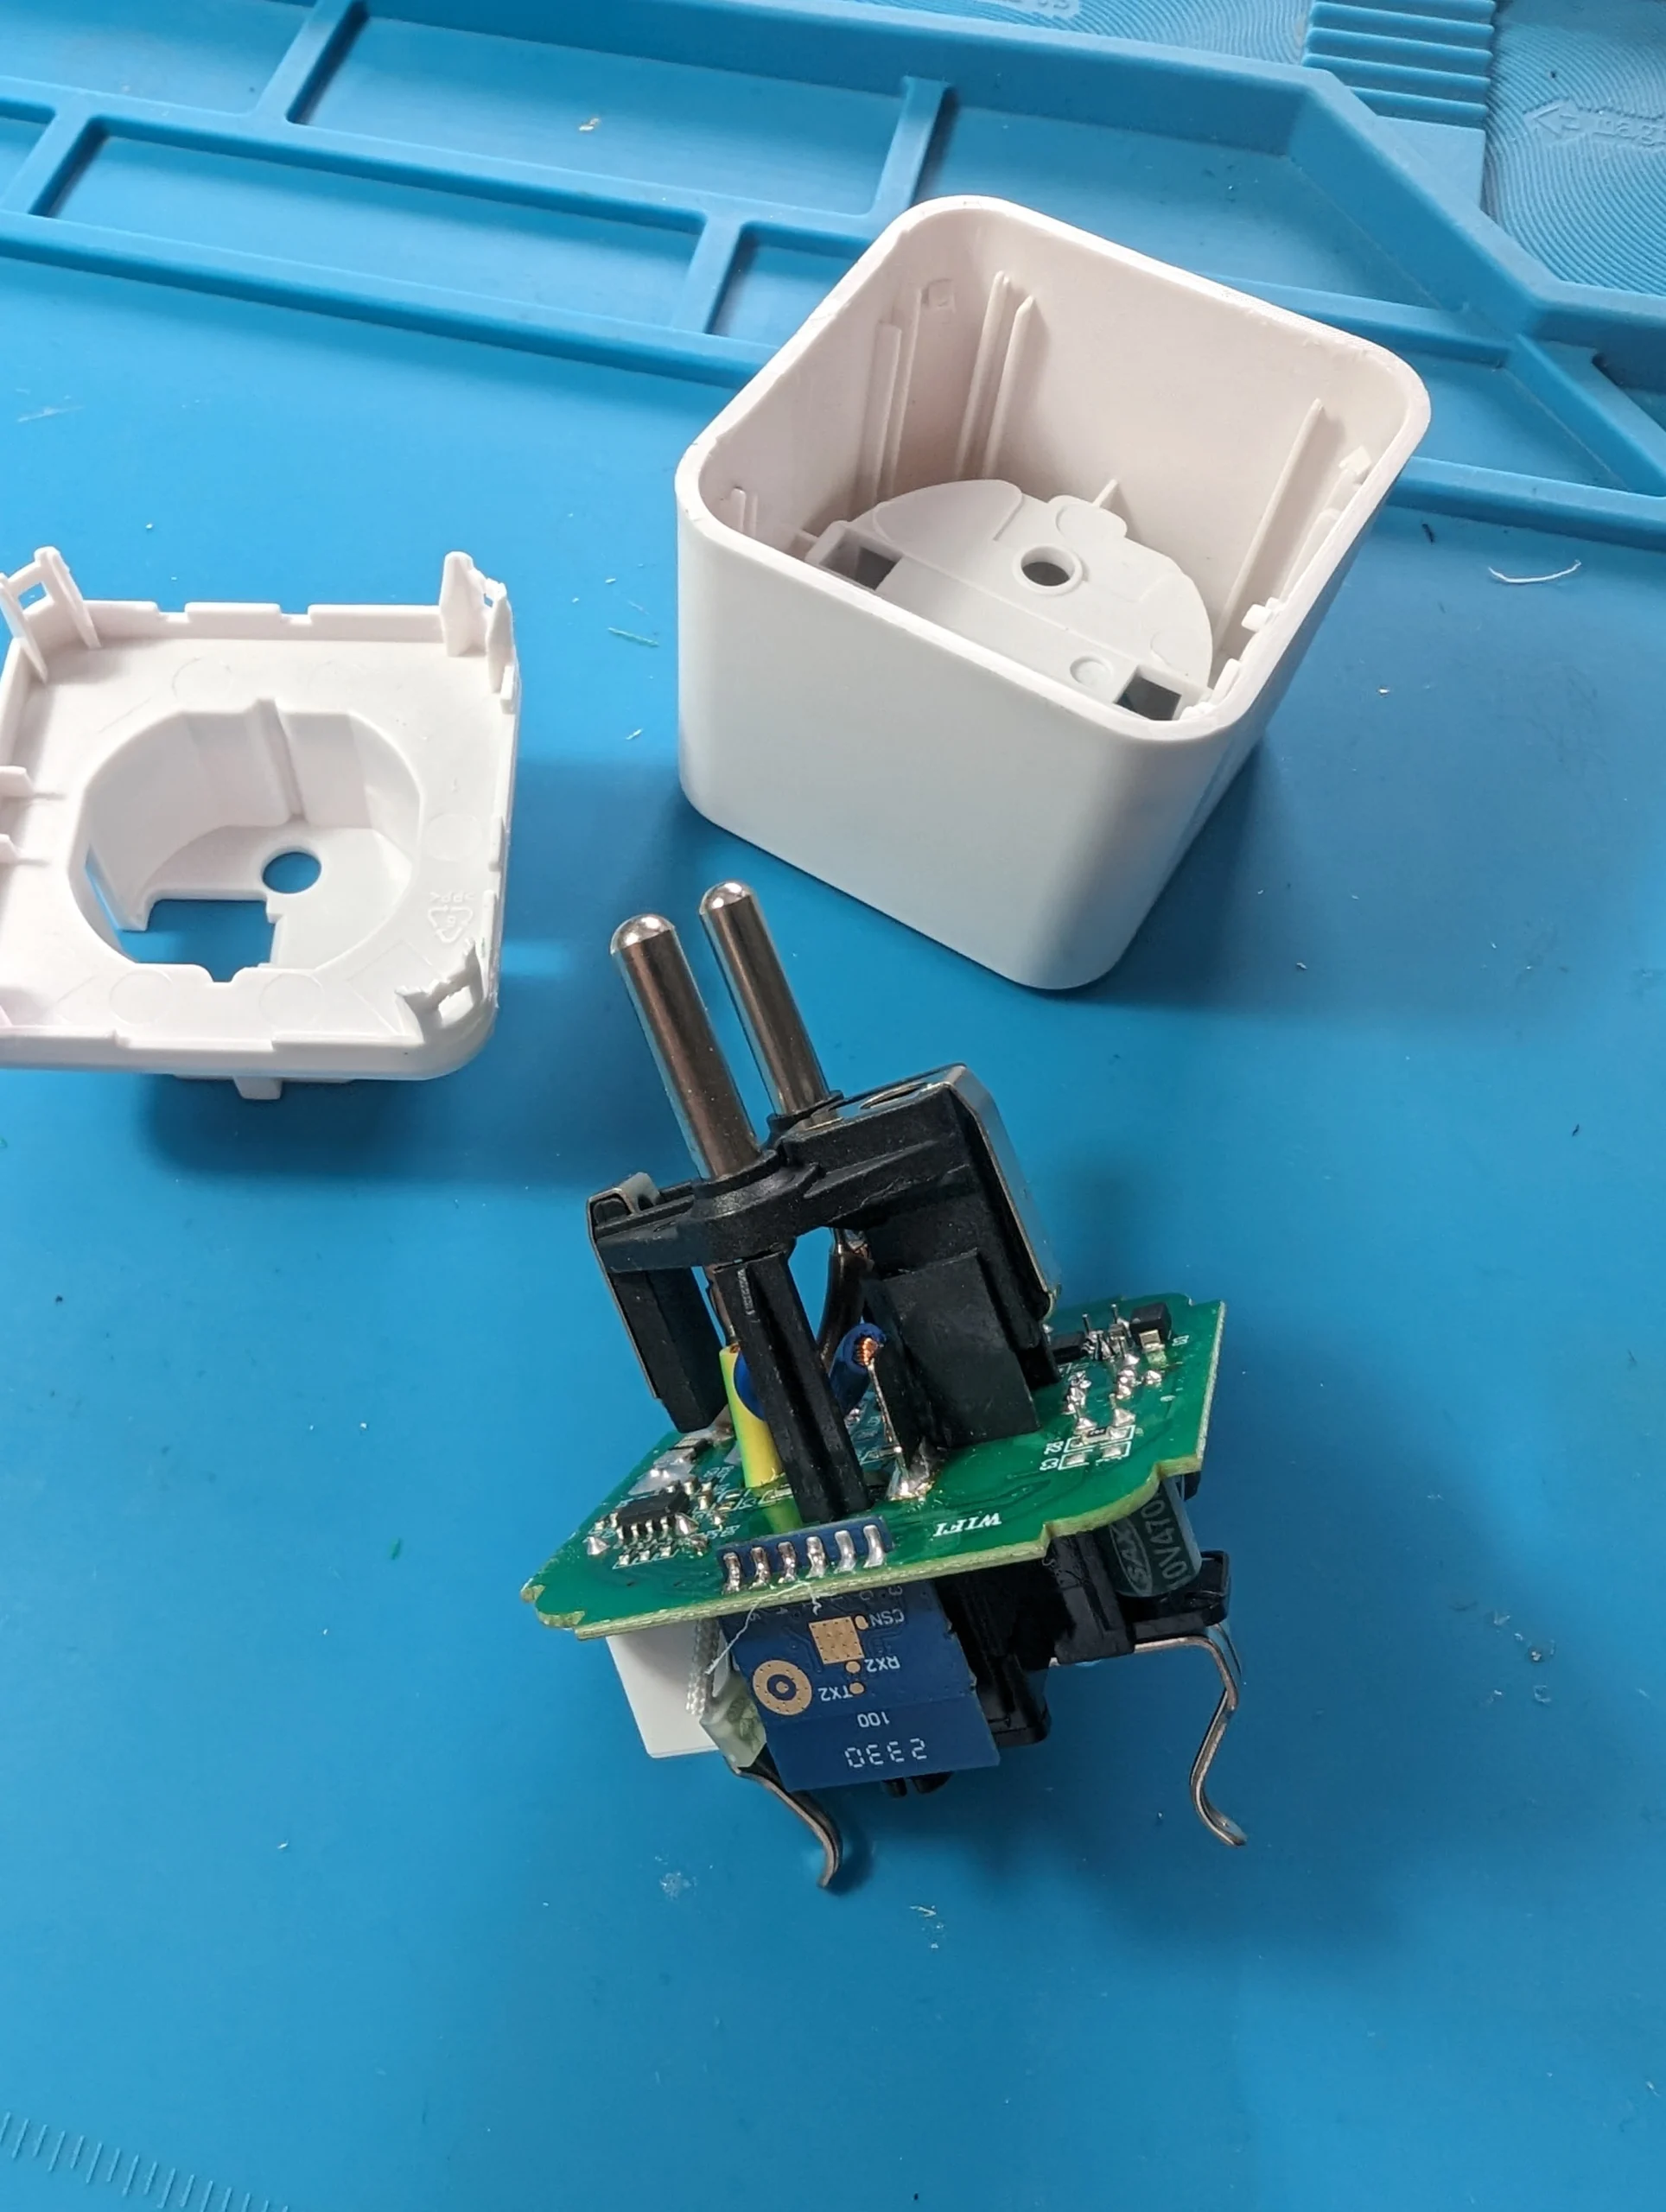
You need some spudgers to carefully open the plugs. In each corner is a clip. I slide a plastic Ifixit spudger in between the plastic parts. Then there is room to slide in the metal spugder. I slide the spudger to one of the corner and carefully pry the corner up. Repeat for every corner.
How to flash ESPhome?
Please do your own research.
Keet Support is not responsible for any bricks, do your own research before flashing ESPhome. Action changes components and chips often, so it may be the case that your LSC plug is not compatible.
First we need to create a yaml file for the plug and download a UF2 package we can flash.
Make two yaml files.
Devices\LSC_3202087.yaml
esphome:
  name: ${device_name}
  friendly_name: ${friendly_name}


bk72xx:
  board: generic-bk7231n-qfn32-tuya

logger:
  baud_rate: 0

web_server:

captive_portal:

mdns:

api:
  encryption:
    key: !secret api_key

ota:
  password: !secret ota_password

wifi:
  networks:
    - ssid: !secret wifi_ssid
      password: !secret wifi_password
  ap:

button:
  - platform: restart
    name: Restart

debug:
  update_interval: 30s

text_sensor:
  - platform: debug
    reset_reason:
      name: Reset Reason
  - platform: libretiny
    version:
      name: LibreTiny Version

sensor:
  - platform: uptime
    name: Uptime
  - platform: hlw8012
    model: BL0937
    update_interval: 500ms
    change_mode_every: 2
    cf_pin:
      number: P26
      inverted: true
    cf1_pin:
      number: P24
      inverted: true
    sel_pin:
      number: P11
      inverted: true
    current:
      name: Current
      id: current
      accuracy_decimals: 3
      on_value:
        component.update: apparent_power
      filters:
        - multiply: ${current_multiply}
        - sliding_window_moving_average:
            window_size: 4
            send_every: 2
    voltage:
      name: Voltage
      id: voltage
      on_value:
        component.update: apparent_power
      filters:
        - sliding_window_moving_average:
            window_size: 4
            send_every: 2
    power:
      name: Power
      id: power
      on_value:
        component.update: power_factor
      filters:
        - sliding_window_moving_average:
            window_size: 4
            send_every: 2
    energy:
      name: Energy
    voltage_divider: ${voltage_divider}
    current_resistor: ${current_resistor}
  - platform: template
    name: "Apparent power"
    id: apparent_power
    unit_of_measurement: VA
    device_class: apparent_power
    lambda: |-
      return id(voltage).state * id(current).state;
    update_interval: never
    on_value:
        component.update: power_factor
  - platform: template
    name: "Power factor"
    id: power_factor
    unit_of_measurement: ''
    device_class: power_factor
    lambda: |-
      return id(power).state / id(apparent_power).state;
    filters:
      - clamp:
          min_value: 0
          max_value: 1
    update_interval: never

binary_sensor:
  - platform: gpio
    id: binary_switch_1
    pin:
      number: P7
      inverted: true
      mode: INPUT_PULLUP
    filters:
      - delayed_on: 10ms
    on_press:
      then:
        - switch.toggle: switch_1

switch:
  - platform: gpio
    id: switch_1
    name: none
    pin: P8
    restore_mode: RESTORE_DEFAULT_OFF
    on_turn_on:
      script.execute: set_status_led
    on_turn_off:
      script.execute: set_status_led

light:
  - platform: status_led
    id: light_red
    name: "Red led"
    pin: P6
    restore_mode: RESTORE_DEFAULT_OFF
  - platform: binary
    name: "Status led"
    id: blue_led
    output: output_blue_led
    restore_mode: RESTORE_DEFAULT_OFF
    internal: true

output:
  - platform: gpio
    id: output_blue_led
    pin: P10

select:
  - platform: template
    name: "Status led mode"
    id: status_led_mode
    optimistic: true
    restore_value: True
    entity_category: CONFIG
    update_interval: never
    options:
      - "Normal"
      - "Invert"
      - "Off"
    initial_option: "Normal"
    on_value:
      script.execute: set_status_led

script:
  - id: set_status_led
    then:
      - if:
          condition:
            lambda: |-
              return strcmp(id(status_led_mode).state.c_str(), "Normal") == 0;
          then:
            if:
              condition:
                switch.is_on: switch_1
              then:
                light.turn_on: blue_led
              else:
                light.turn_off: blue_led
      - if:
          condition:
            lambda: |-
              return strcmp(id(status_led_mode).state.c_str(), "Invert") == 0;
          then:
            if:
              condition:
                switch.is_on: switch_1
              then:
                light.turn_off: blue_led
              else:
                light.turn_on: blue_led
      - if:
          condition:
            lambda: |-
              return strcmp(id(status_led_mode).state.c_str(), "Off") == 0;
          then:
            light.turn_off: blue_led
Then in device:
substitutions:
  device_name: lsc-powerplug1
  friendly_name: LSC Powerplug 1
  voltage_divider: '795'
  current_resistor: '0.001'
  current_multiply: '0.450'

<<: !include lsc-3202087.yaml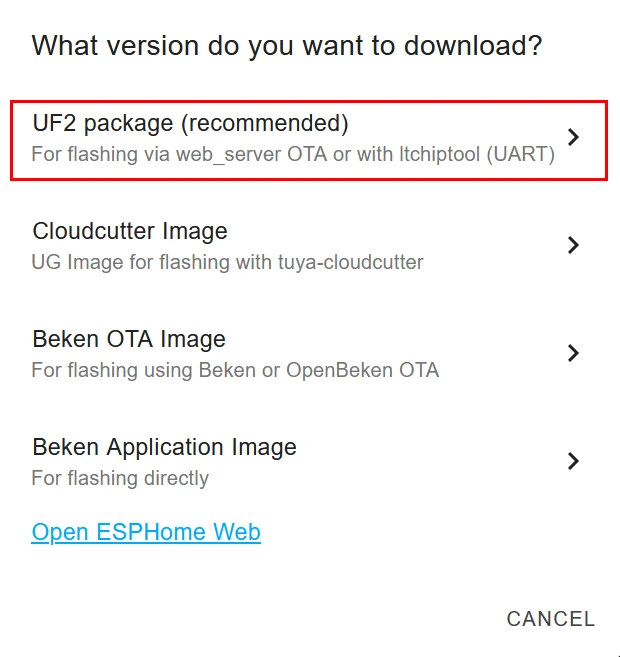
Now in the ESPhome Webui click install and Manual Download. Now you get a popup and download the UF2 package.
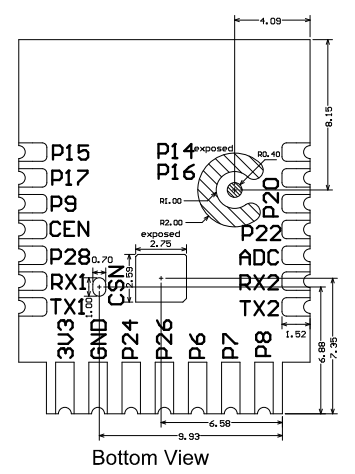
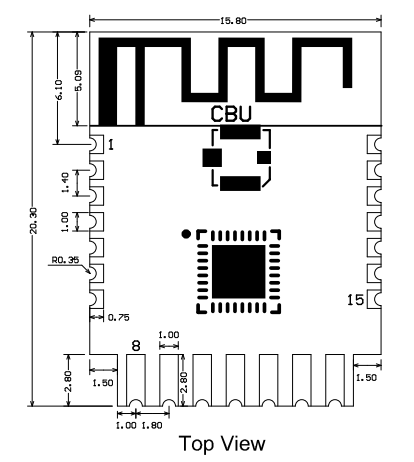
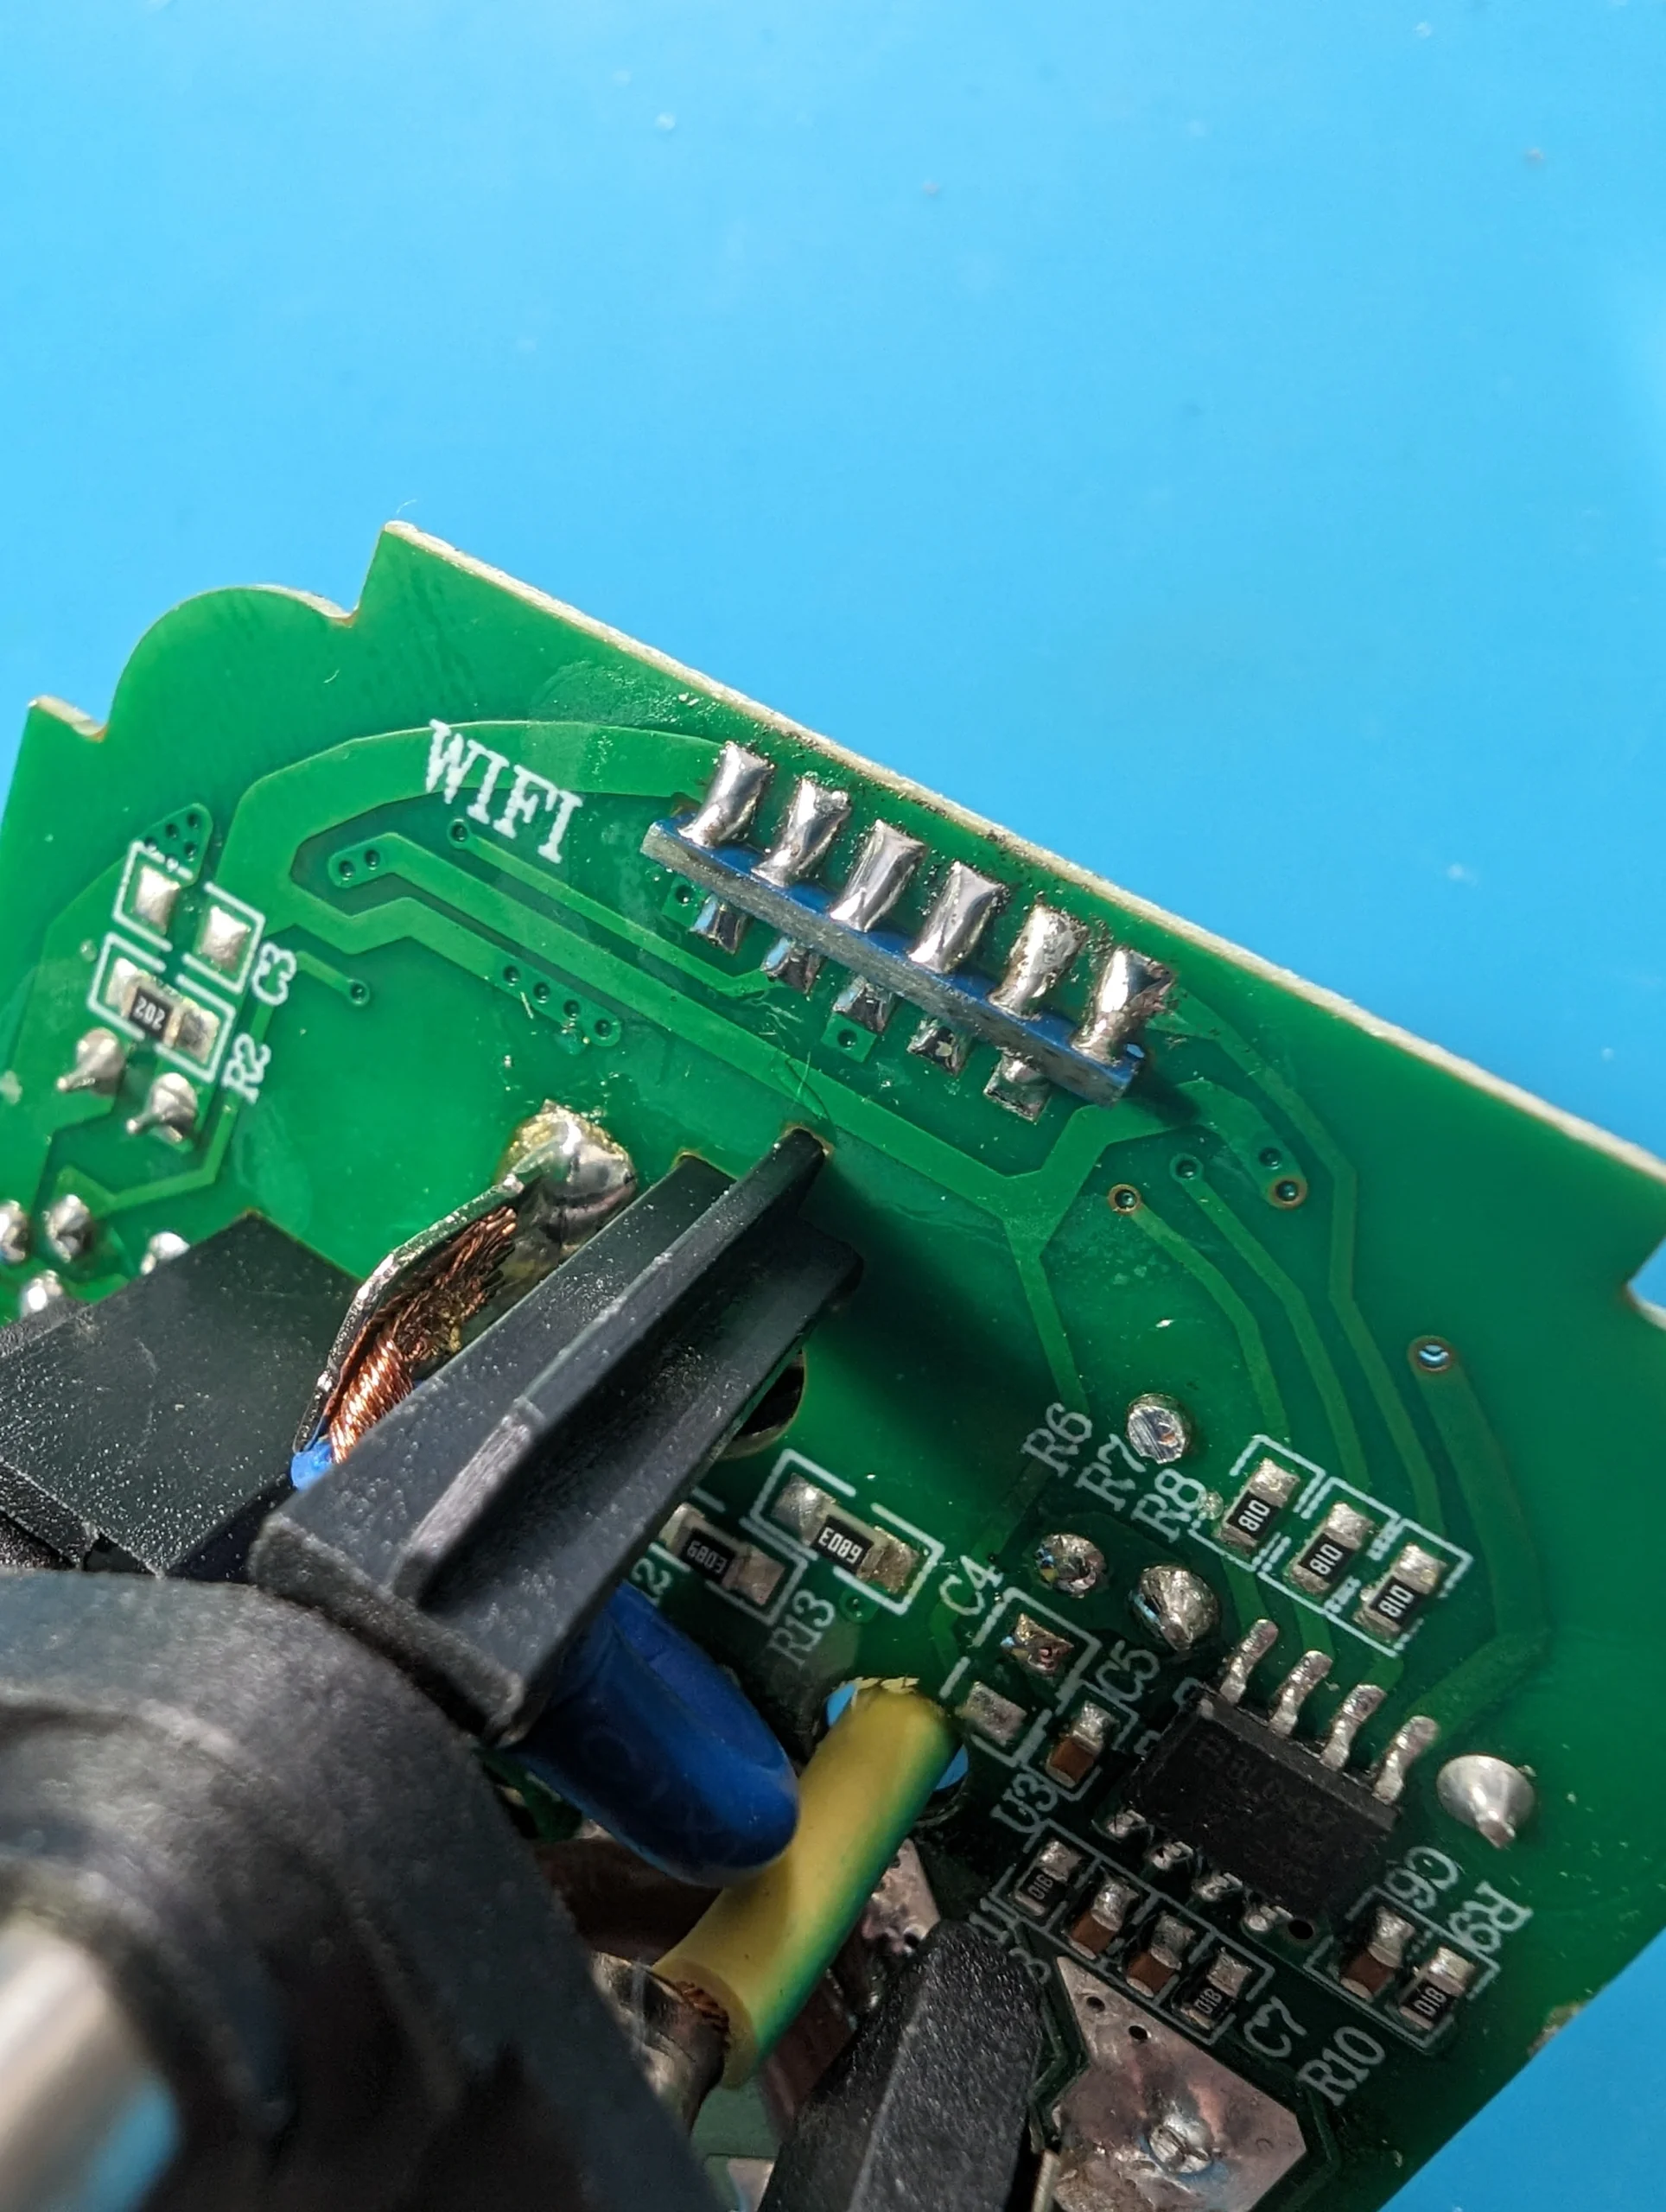
Soldering BK7231N to UART converter
Do not connect your device to mains electricity while following this guide. If your device is open and plugged directly into the wall, you’ll be a single touch away from being electrocuted.
You are solely responsible for your own safety. If you feel something is wrong or are uncomfortable with continuing, stop immediately.
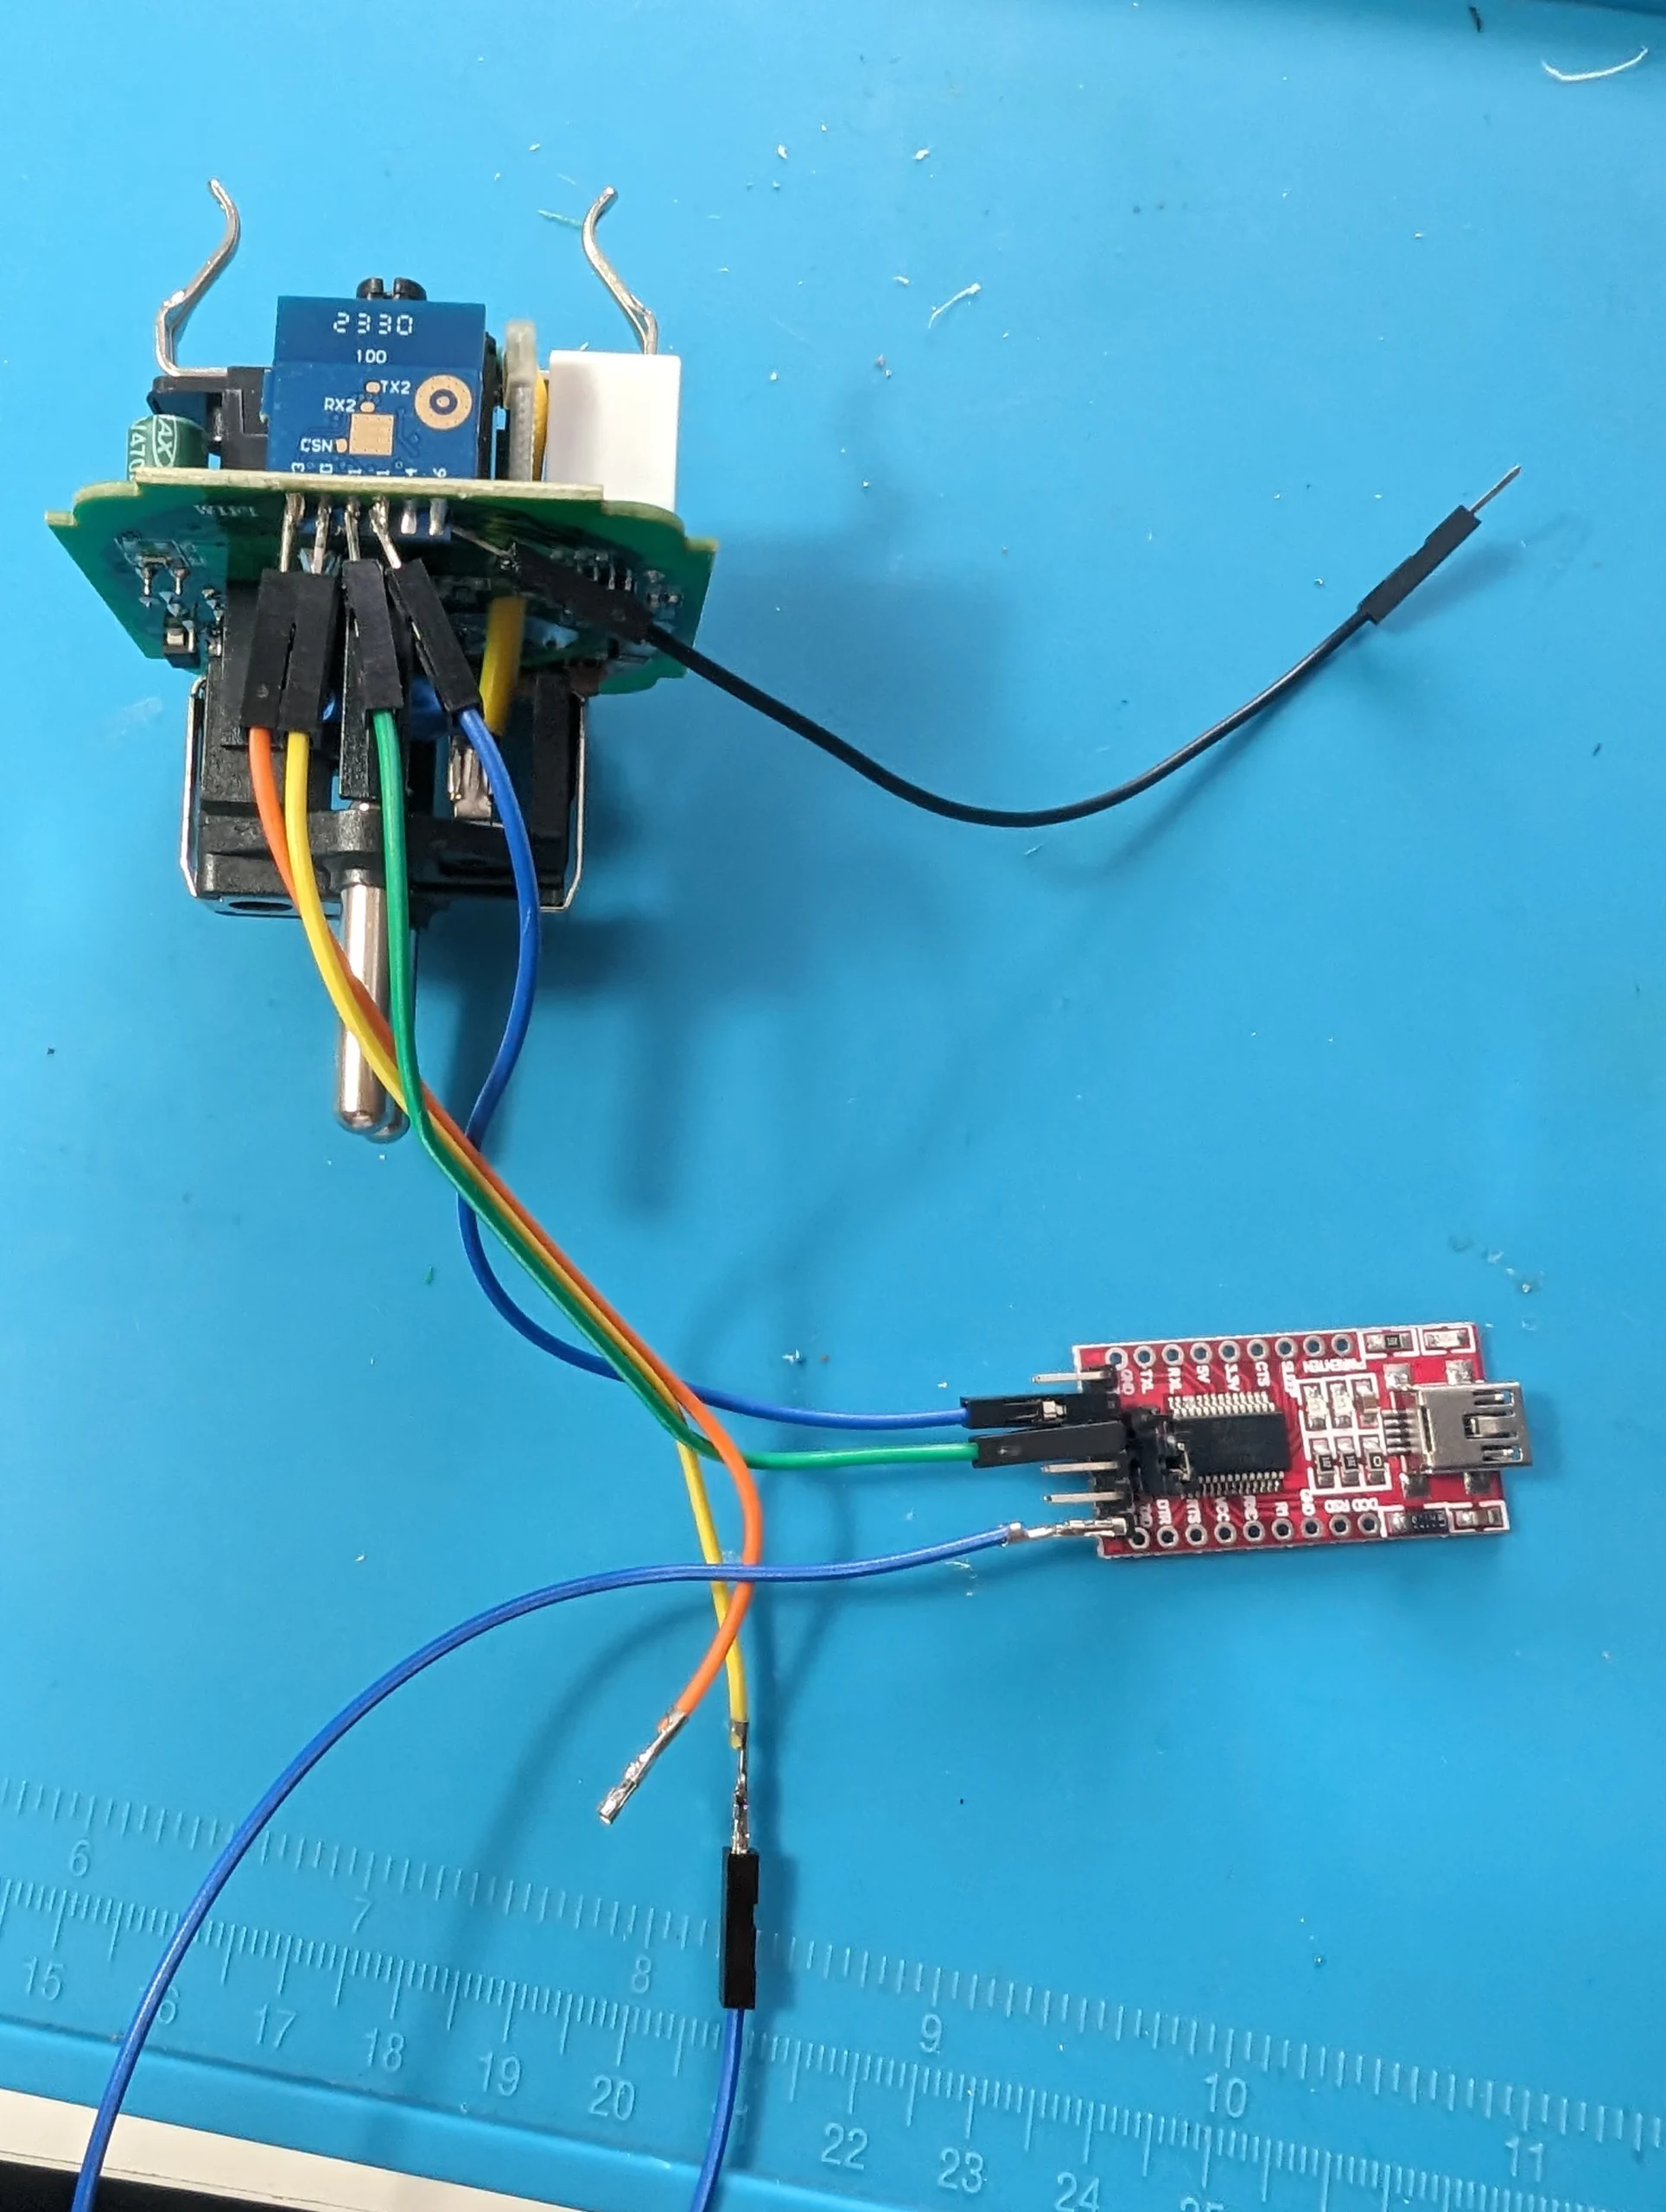
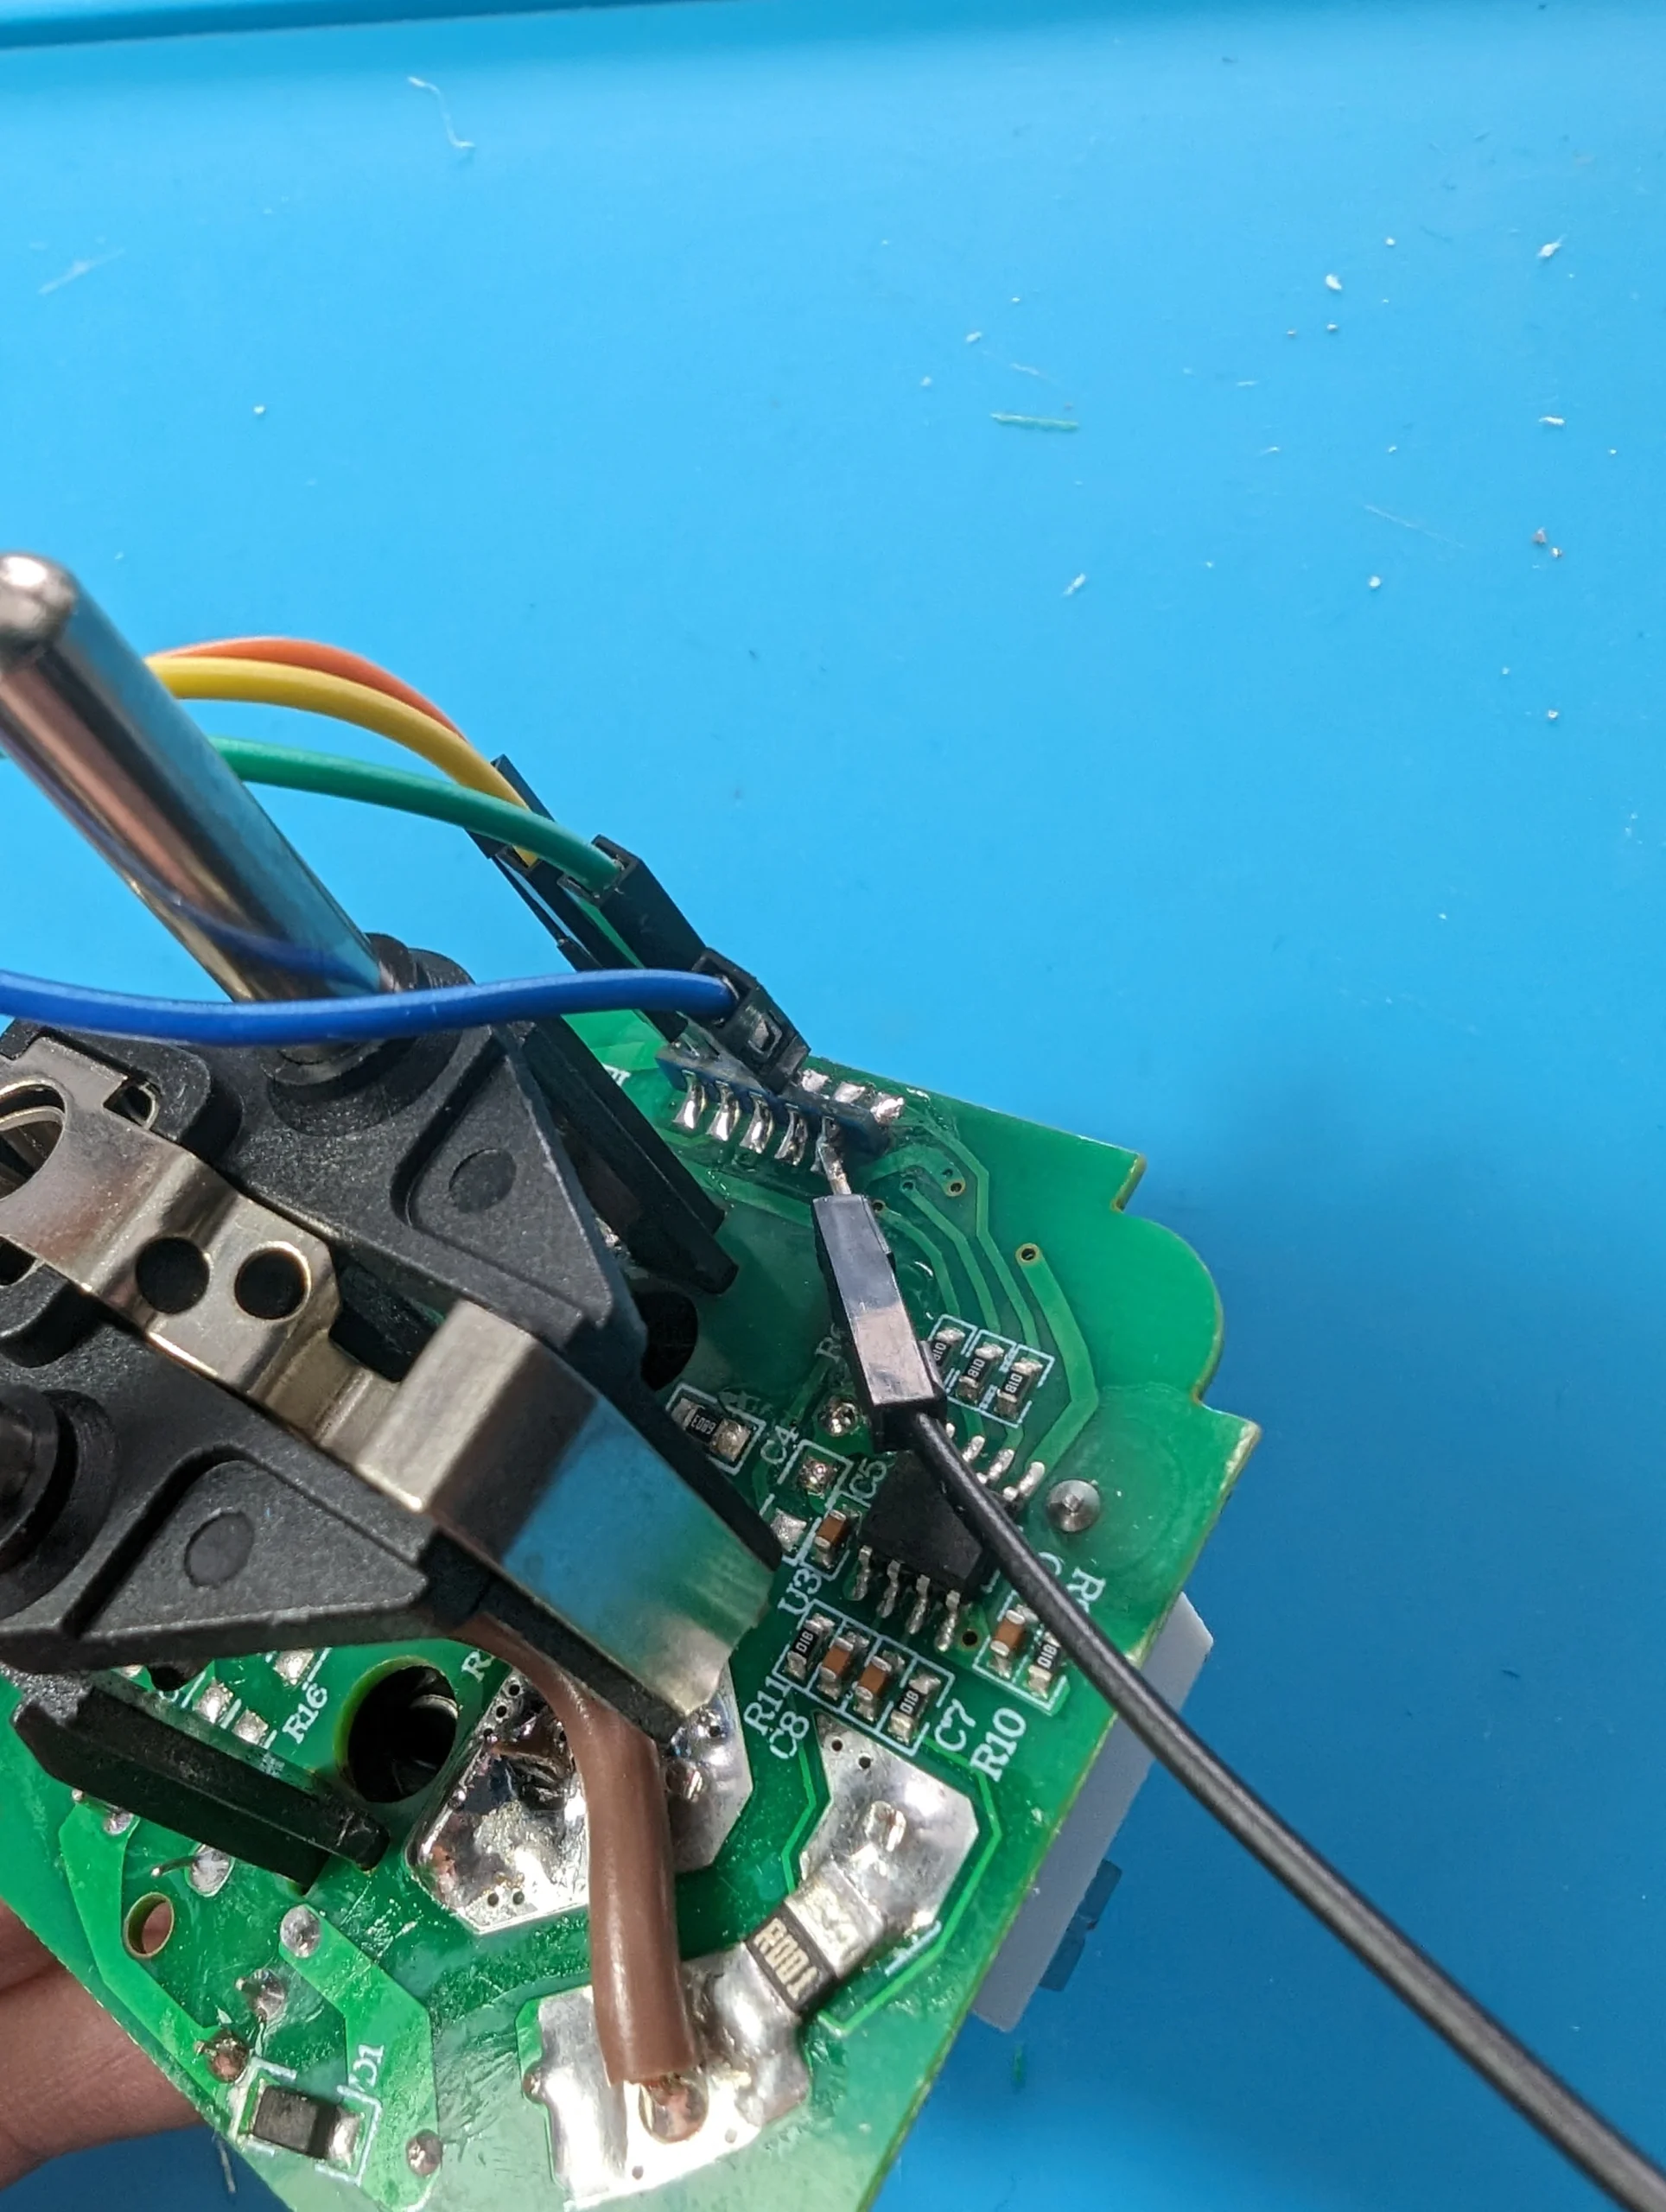
U need a USB to UART converter 5V/3.3V for this to work. I connected a external 3,3 power supply for more stable power. I soldered the following:
Flashing ESPhome with ITchiptool
Now open ITchiptool on your computer. Select the right COM port. Set Baud rate to 115200 and select Write flash. As input file select the UF2 file we made with the ESPhome webui and click Start.
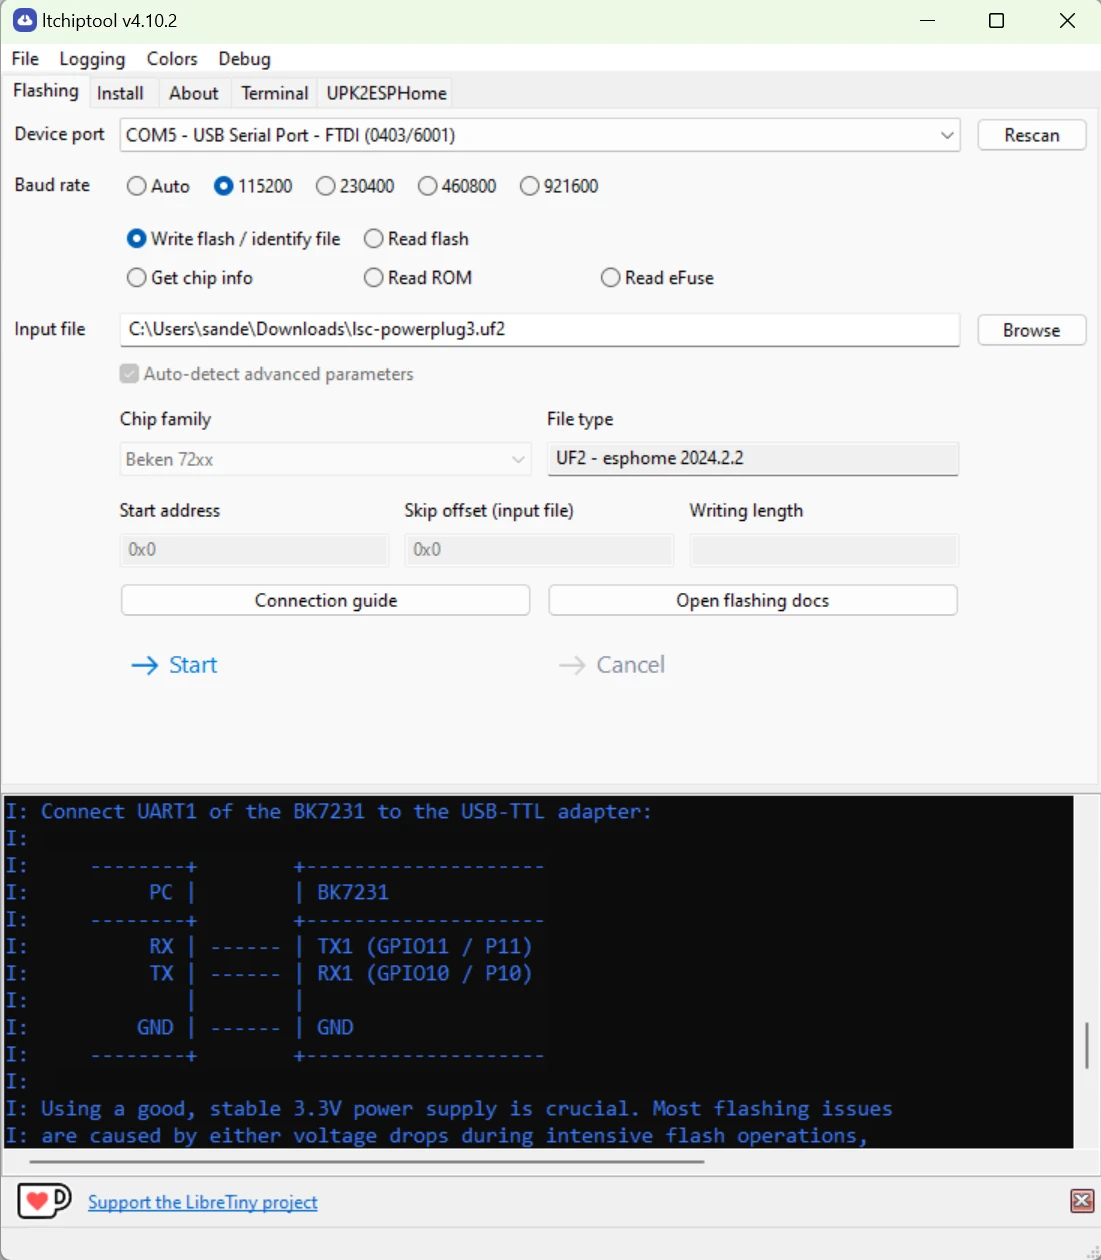
Now the black wire we soldered to CEN need to connect with GND for 0.25 seconds. So tap the end of the black wire to GND to reset the chip and set it to flash mode.
If all right ITchiptool will start flashing.
Import in Home Assistant
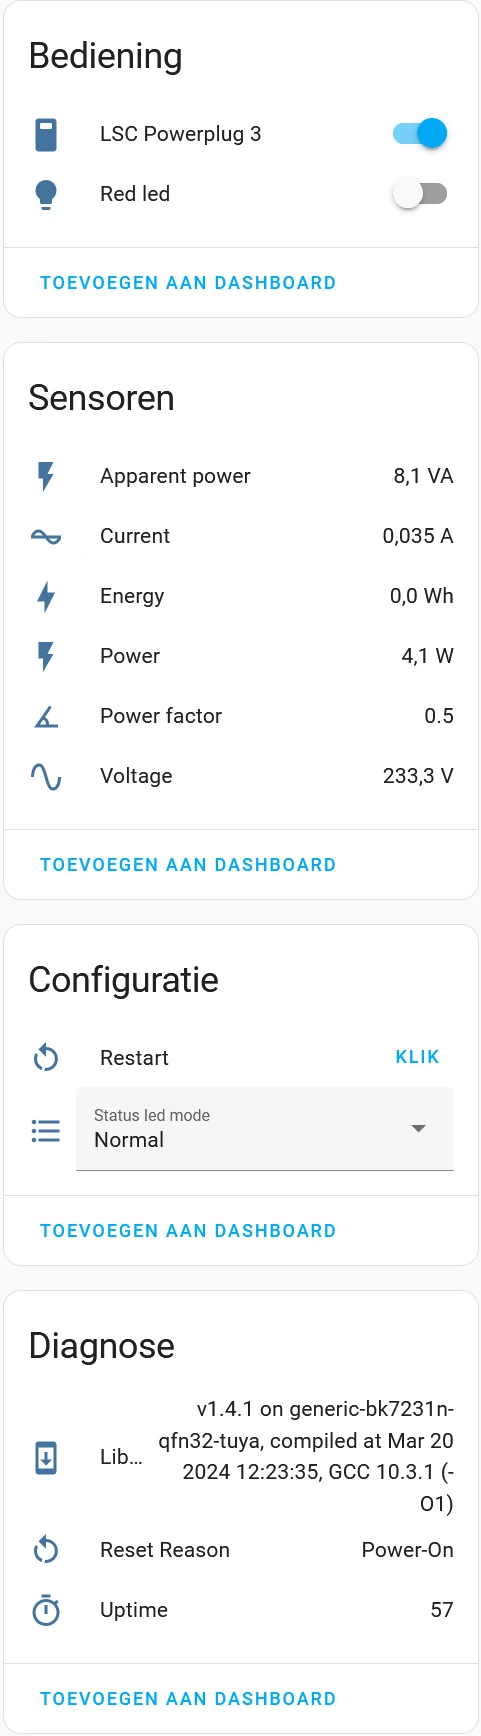
If you import the plug in Home Assistant and you get all these options.
Assemble the power plug again
Now disconnect from the computer and desolder the wires.
Make sure that all solderpads make good connecting to the BK7231. I always touch them up a little with the soldering iron.
When assembling the plug again, make sure the button works before pushing in the last part of the shell.
This is how you flash the LSC power plug with ESPhome. Good luck!